Plugin development
Overview
- A plugin is an APK package — no different from ordinary Android development
- You can use Android Studio during development; package it as an APK when done
- This chapter focuses on developing plugins with EasyClick
Create a plugin project
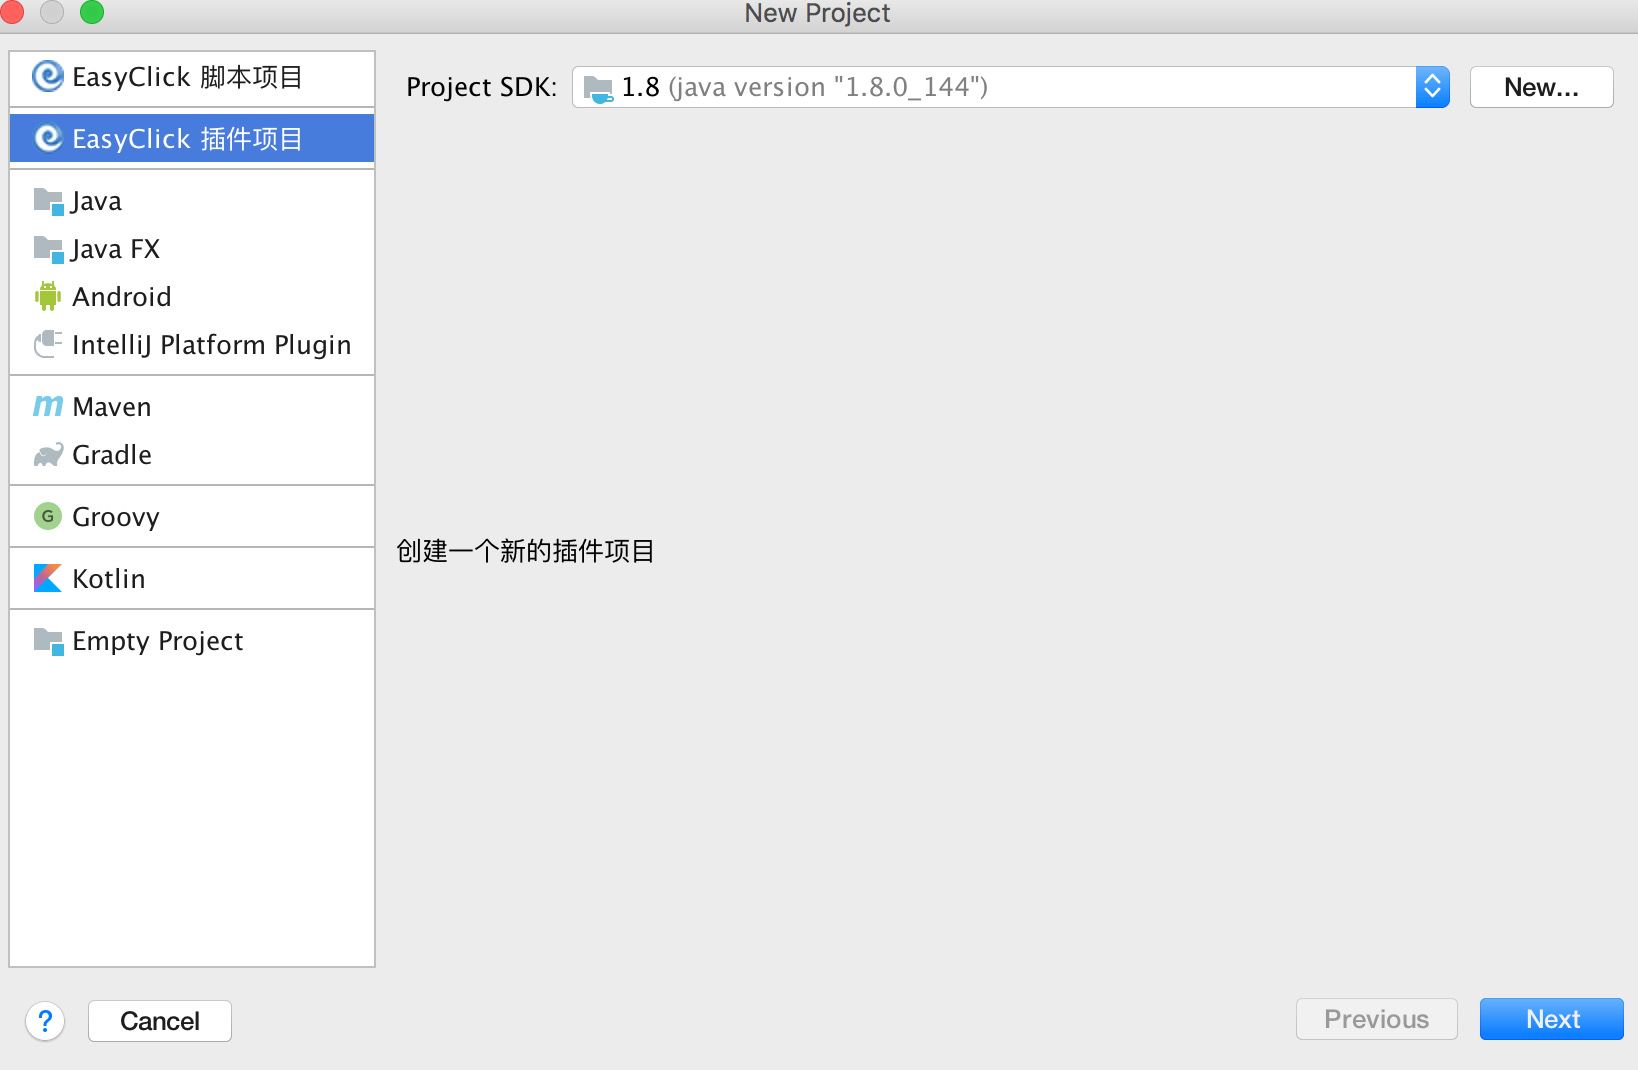
- In IDEA, create a project and select EasyClick Plugin Project
- Click Next and finish — the corresponding Java classes and configuration are generated automatically
Plugin directory structure
src/js/main.js— test entry for JS calls into plugin methodssrc/com/— Java source;PluginClzis the default plugin entry classlibs/jarlibs— third-party JARs, merged into the pluginlibs/solibs— native.solibraries, compiled into the pluginlibfolderlibs/resources— resource files, compiled into the pluginresourcesfolderlibs/jslibs— JS libraries for testing only; not compiled into the plugin
- As a plugin developer, focus on writing Java code. For JNI, put
.sofiles inlibs/solibs
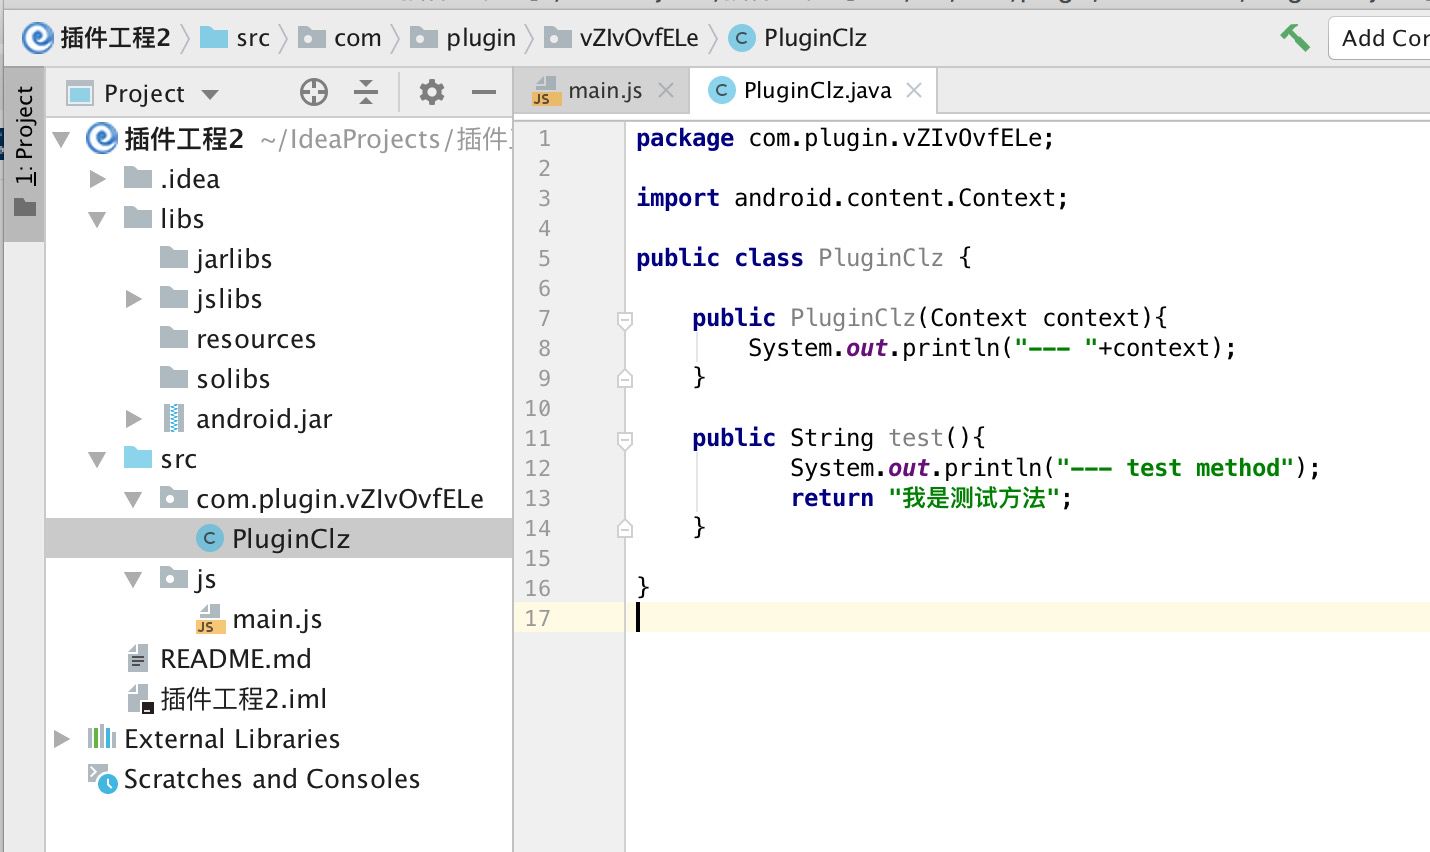
Plugin Java class PluginClz
PluginClzis the default generated plugin Java classtestis the default generated plugin method- See
main.jsfor how it is invoked
Run the plugin
- Use the menu EasyClick Dev Tools → Run Project (device must be connected)
Package the plugin
- If your plugin APK is very large, you likely misconfigured something — typical size is a few KB to a few hundred KB
- Use EasyClick Dev Tools → Package Plugin → Build plugin APK
- Check the EasyClick run log; output is usually at
build/release.apk
Using a plugin
- Put the packaged APK in your script project’s
pluginfolder - Load it with the loadDex function
- Instantiate with
newand call methods