Activate Android device
Activate via IDEA
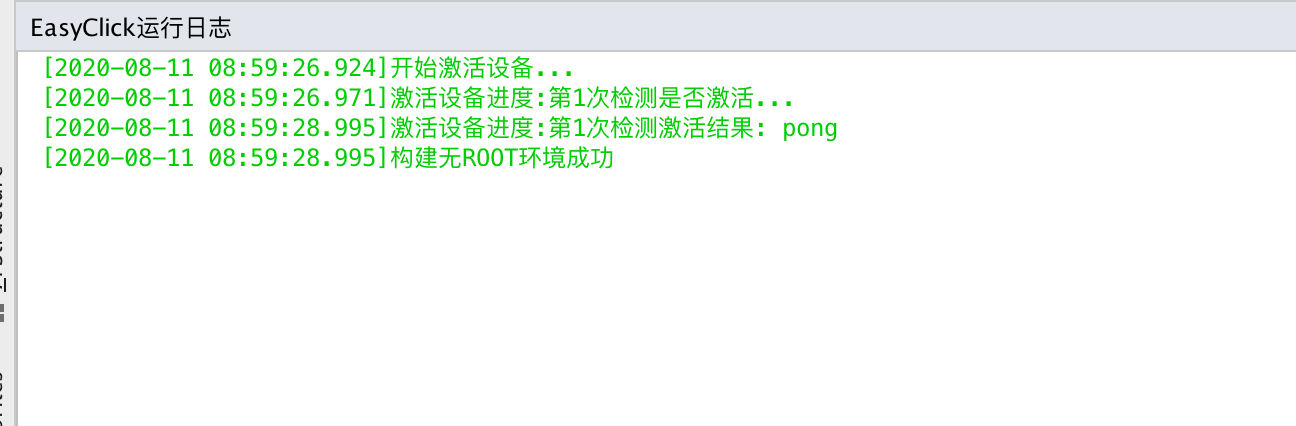
- In IDEA: EasyClick dev tools → Activate device → Activation mode 1 or 2, then click
- Open EasyClick run logs — if activation succeeds, you are done

In-app self-activation
- Enable USB debugging on the device
- Enable ADB Wi‑Fi debugging on the device
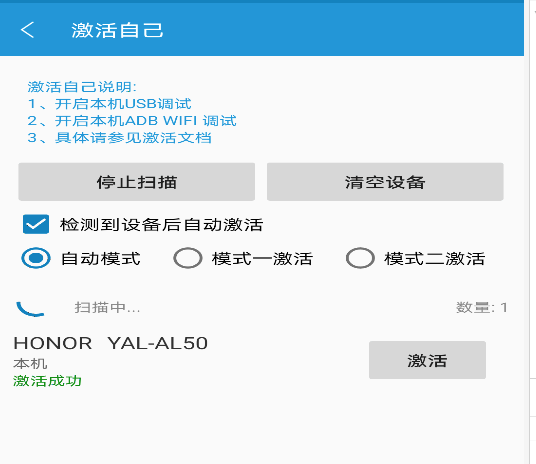
- In the EC APK system settings, tap Activate self
- Activation runs automatically; if a USB authorization prompt appears, check Always allow and confirm

- Activation succeeded
- When conditions 1 and 2 are met, you can call the script
activeSelffunction - Manually enable ADB Wi‑Fi: https://www.jianshu.com/p/a9543f2e89de
- To permanently enable ADB via ROM changes, search online for guides
- You can use a standalone batch ADB Wi‑Fi opener
Batch activation from PC
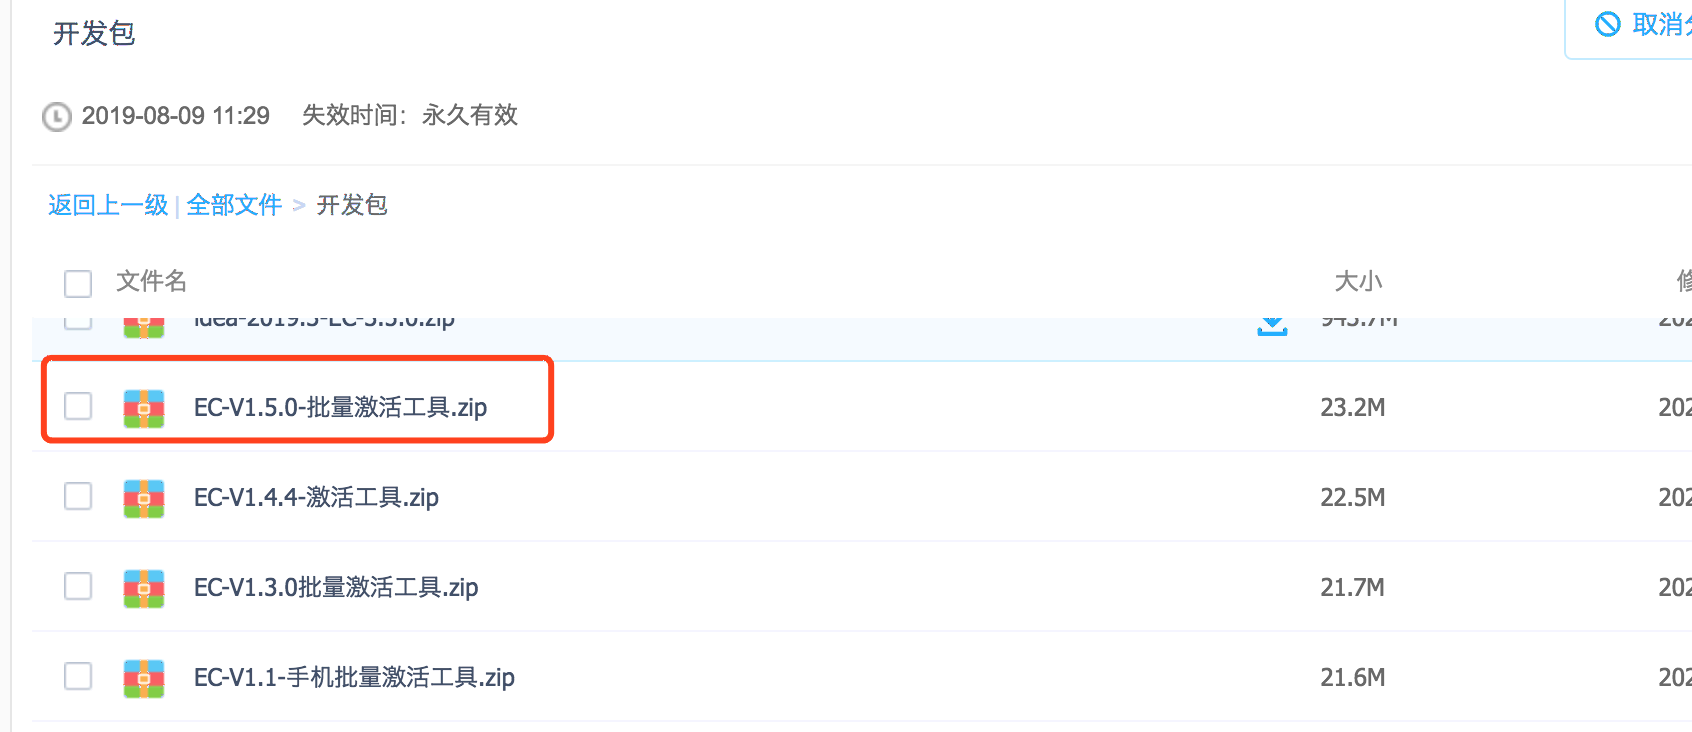
- From the EasyClick dev plugin download area, get the batch activation tool, extract, and run the matching
.exe
Device activates another device
- Demo video: https://www.bilibili.com/video/BV1zA411L7hy
- Terms: phone with EC installed = A; phone being activated = B
- Use an OTG cable; EC is installed on phone A
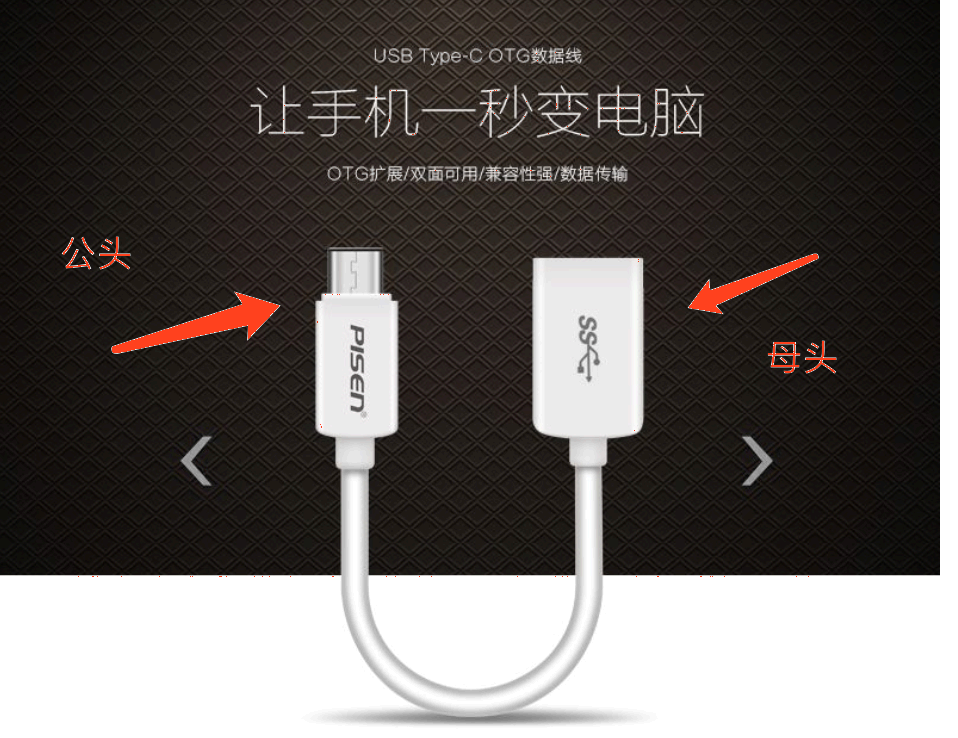
- Plug OTG male end into phone A, female end into phone B; in EC system settings → Activate other device — devices are scanned and activated automatically
- If phone B shows a USB authorization prompt, approve it
Walkthrough
- Enable OTG
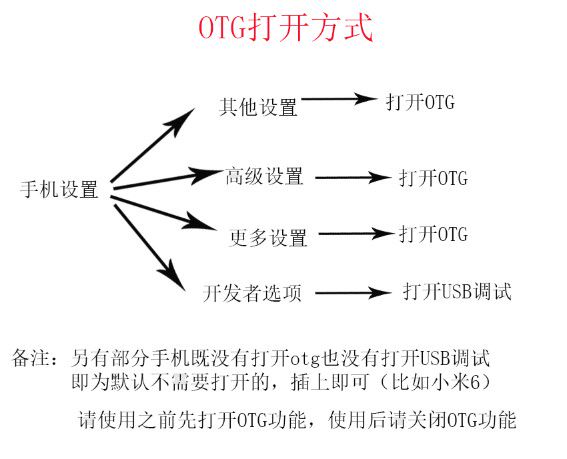
- OTG cable overview
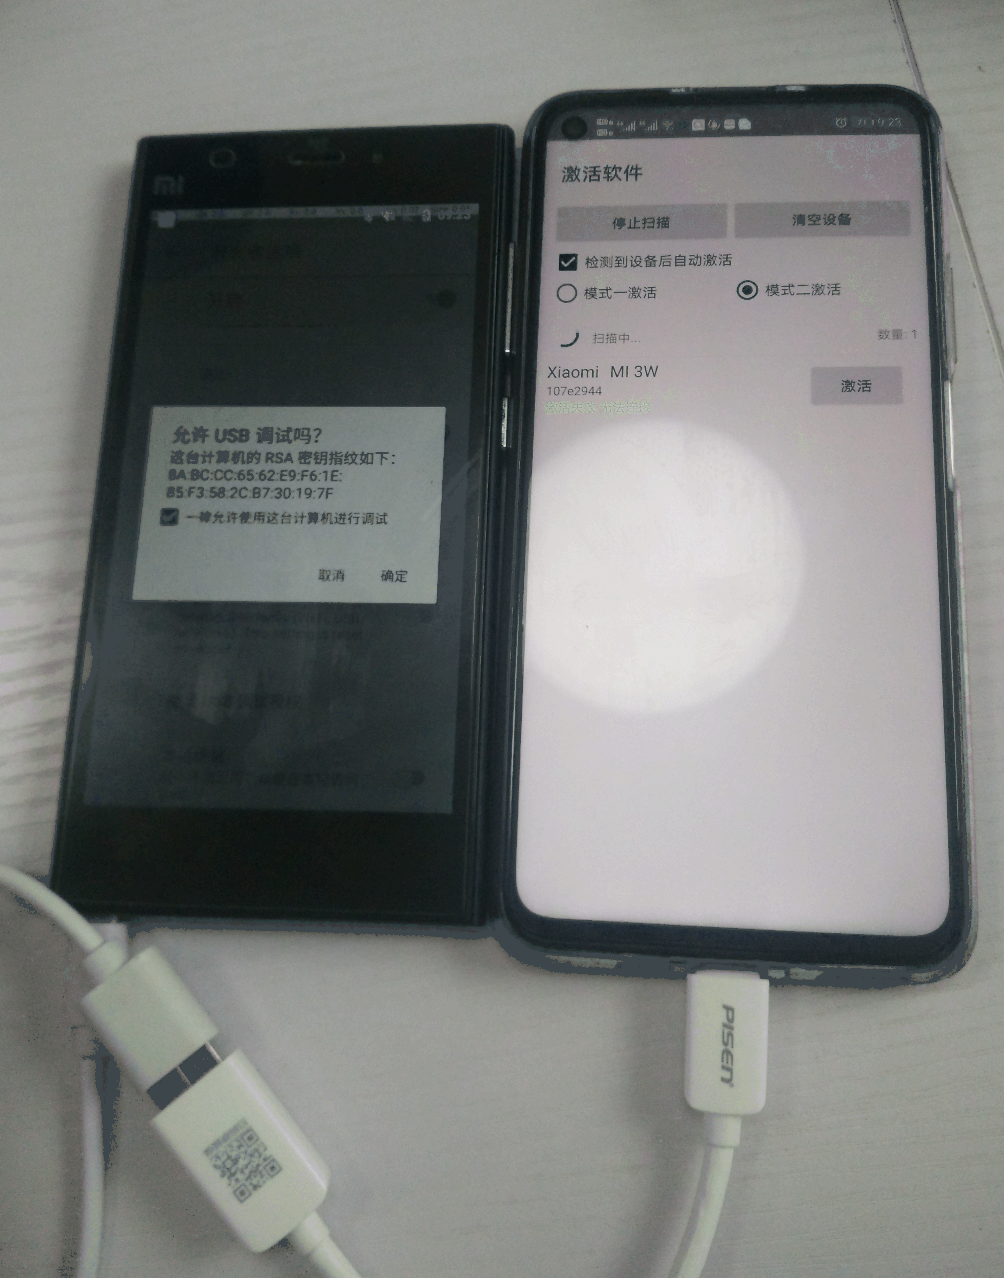
- Connect devices

- If a USB debugging dialog appears, allow it
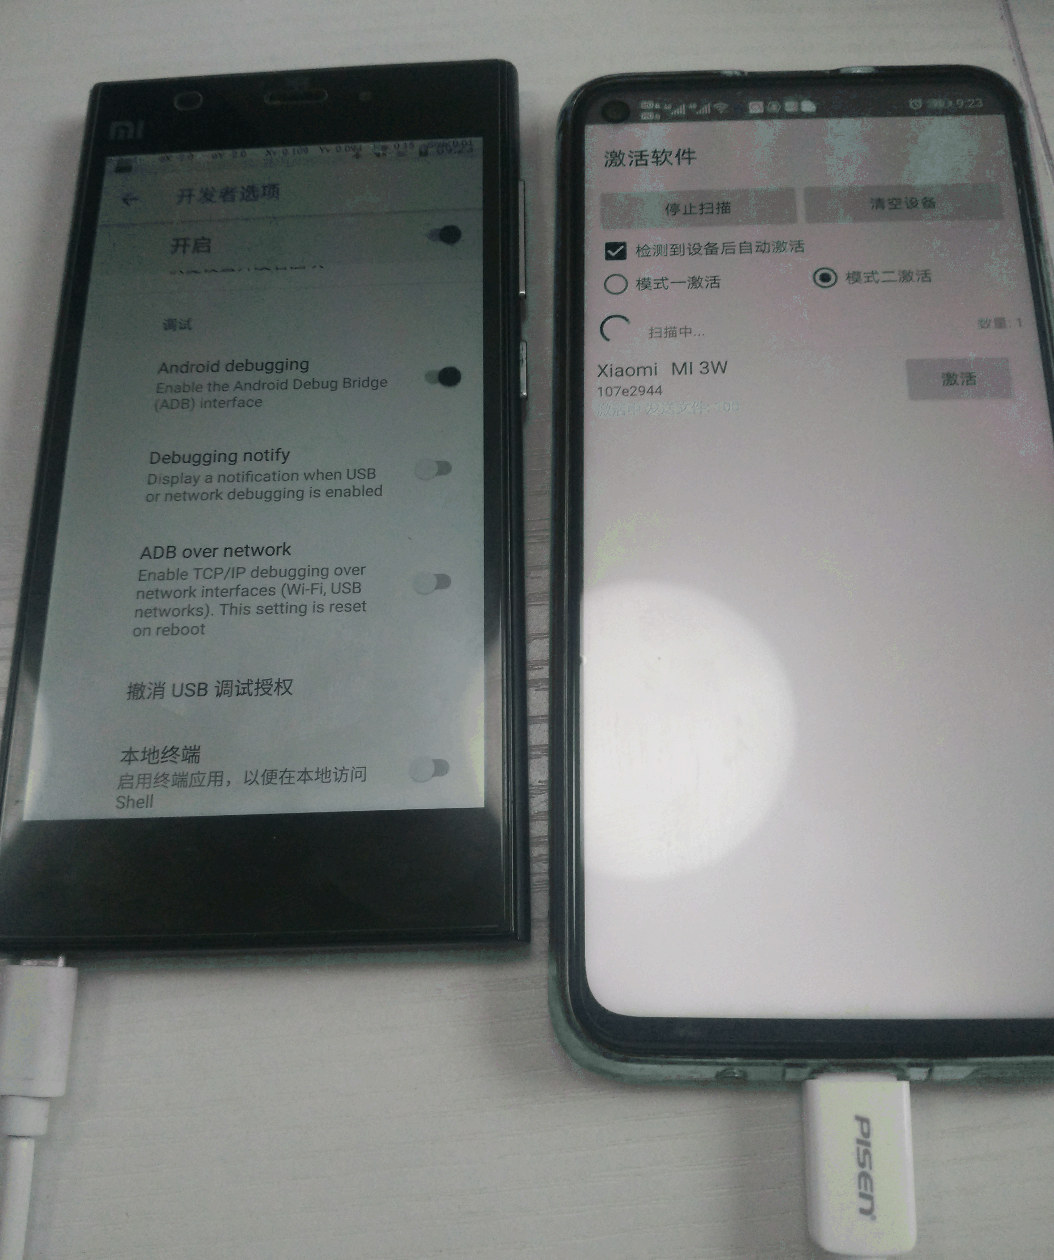
- Enable file transfer for activation
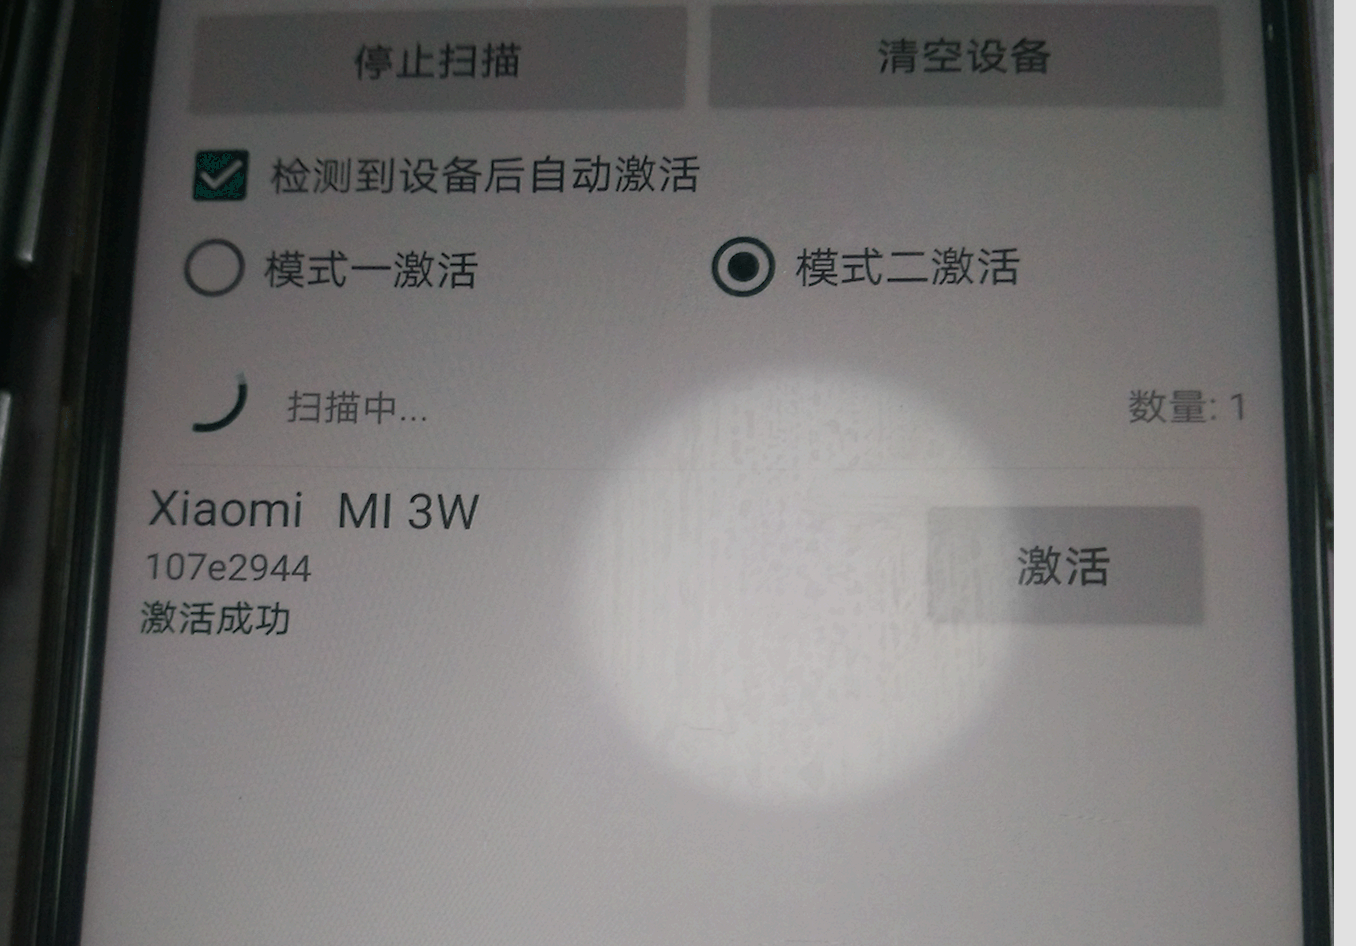
- Activation succeeded
- If the connection fails, unplug and replug the cable and retry
Accessibility keep-alive
- In IDEA: EasyClick dev tools → Activate / keep-alive device → Accessibility keep-alive
- Enter the packaged APK package name
Batch enable ADB Wi‑Fi
- In IDEA: EasyClick dev tools → Activate / keep-alive device → Batch enable ADB Wi‑Fi debugging
ROM built-in activator
-
- Download
V1.12.0-EC-activate-device-accessibility-keepalive.zip (Chinese release filename), extract, find the activator binary for the phone CPU under theagentfolder (search whether your CPU is ARM or x86)
- Download
-
- Copy the file to a path on the phone, e.g.
/data/local/tmp/agent
- Copy the file to a path on the phone, e.g.
-
- Run via adb:
adb shell /data/local/tmp/agent -mode=runagent -dport=19901,19902,19903 --password=123 &to run in background
- Run via adb:
-
password: password -
dport: ports, comma-separated -
- Run
adb shell netstat -ant— if port19901is listening, it succeeded
- Run
-
- For ROM auto-start, place the binary under
/system/bin/and on boot run/system/bin/agent -mode=runagent -dport=19901,19902,19903 --password=123 &in background
- For ROM auto-start, place the binary under