OTG HID Tutorial
Supported Firmware
- Currently supports ESP32S3 and ESP32S2 MINI boards
- Can connect via OTG adapter directly (no charging), or use a 3-in-1 adapter (charging, Ethernet, OTG)
- Buy boards and adapters on Pinduoduo/1688; 3-in-1 adapter recommended
-
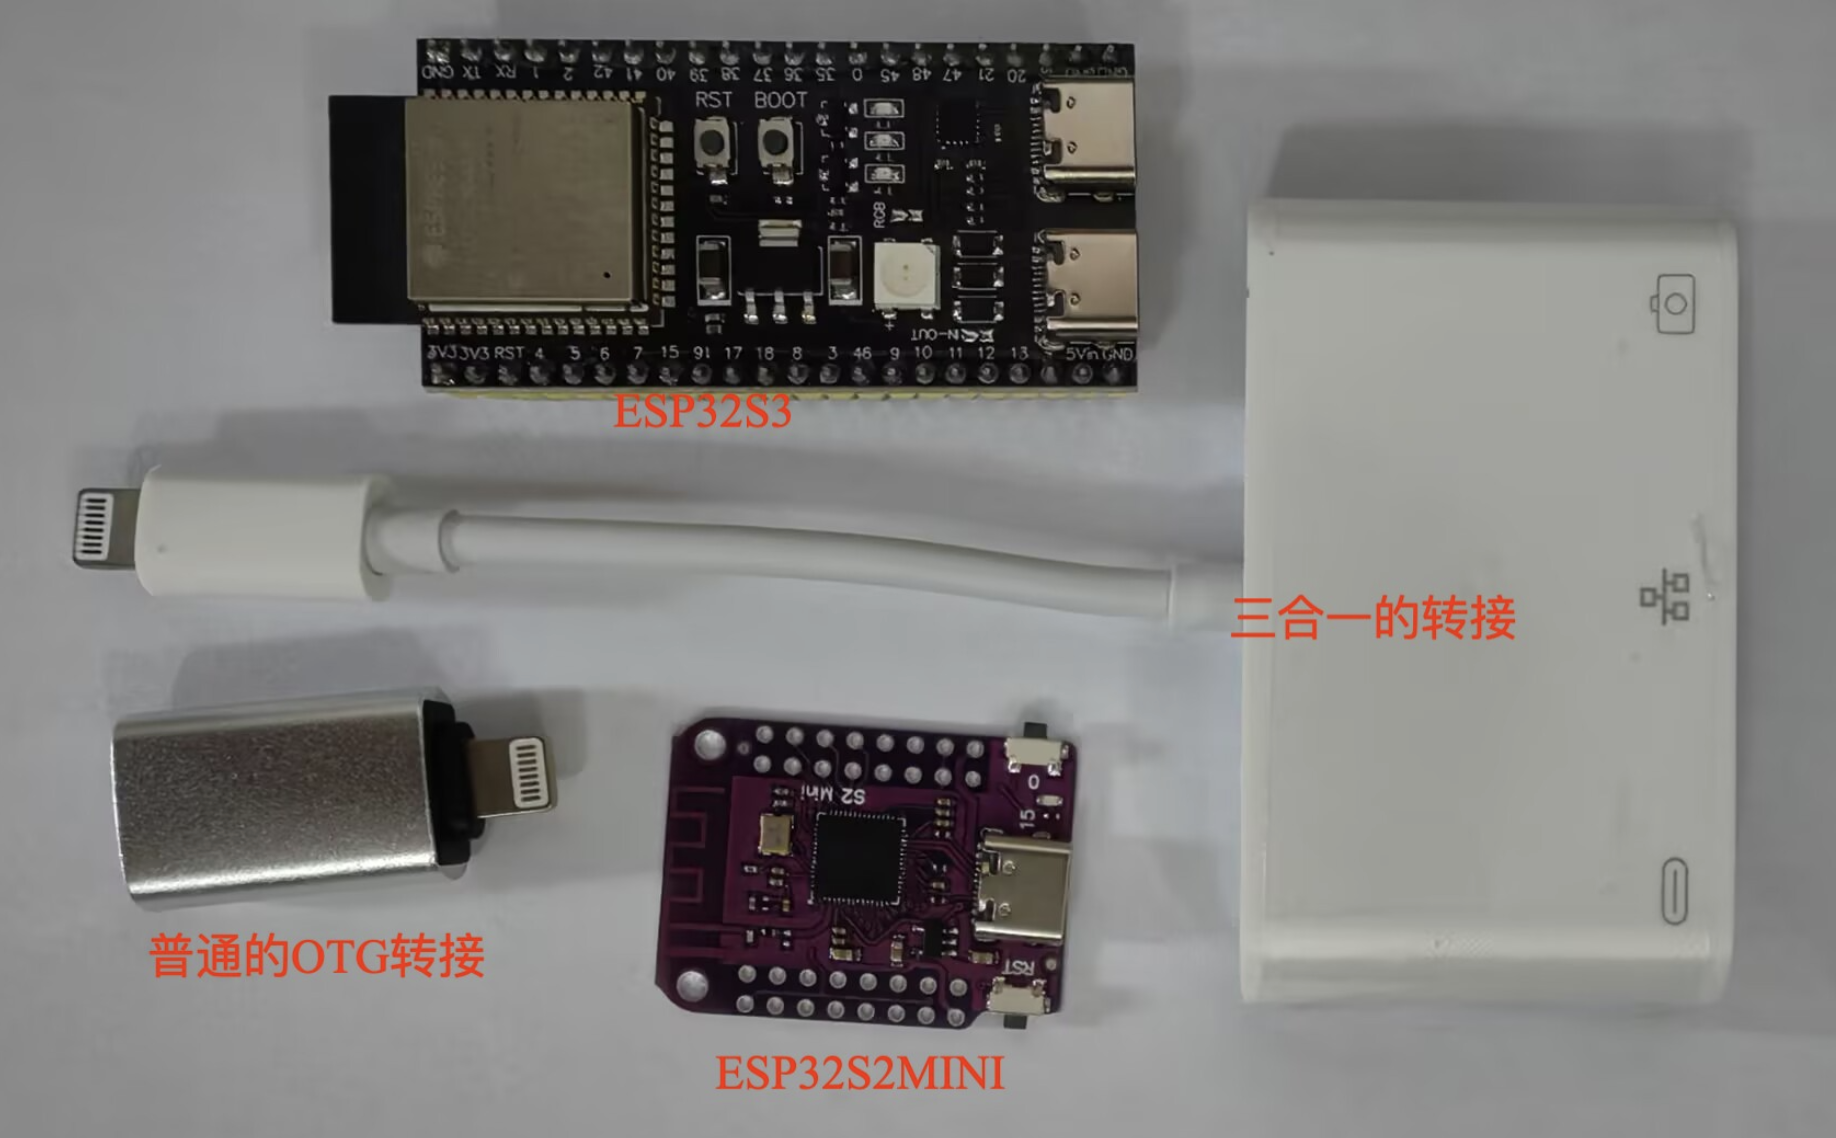
Download Firmware
- In cloud drive iOS Resources → Standalone Edition → OTG-HID Firmware, download firmware for your board
- Note: firmware includes relative coordinates and absolute coordinates variants
- Relative mouse has broad compatibility but requires compensation ratio calculation; if error occurs, call the zero-reset function
- Absolute mouse works well on iOS 17+ with no compensation ratio; clicks are more accurate
- For S2: hold IO button, press RST, release both together for PC to recognize
- OTG firmware does not require Bluetooth MAC — ignore MAC prompts and flash firmware
Flash Firmware
- Flashing is the same as Android — see Android Bluetooth Flash Firmware
- OTG firmware does not require Bluetooth MAC — ignore MAC prompts and flash
- Select iOS standalone OTG firmware when flashing — do not pick the wrong one
- ESP32S2: hold BOOT → tap RST to flash
- ESP32S3: after flashing, connect phone via USB-OTG port, not COM port
Connect Phone
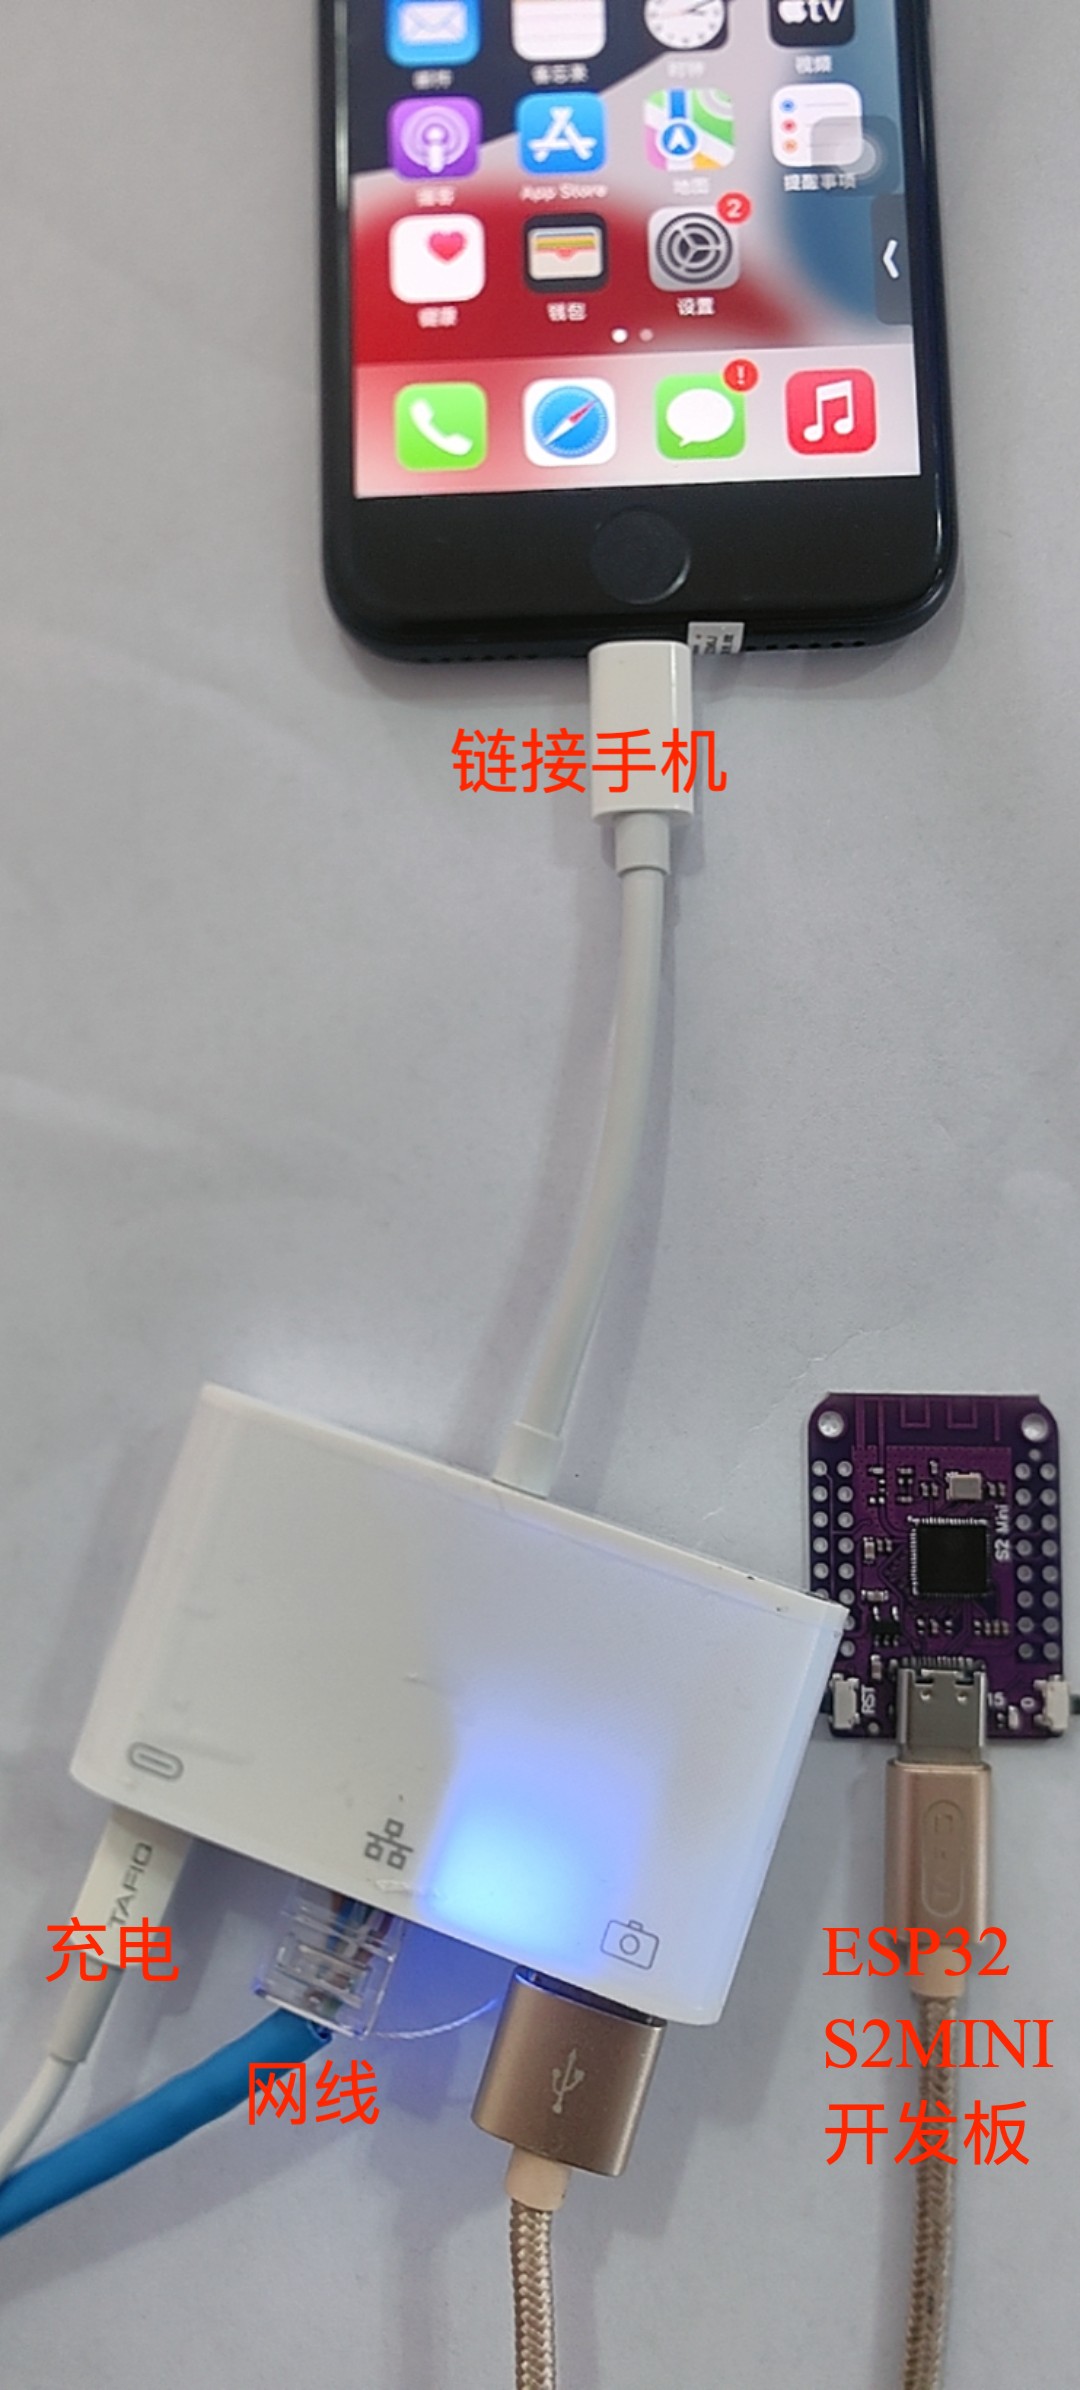
- Example uses 3-in-1 adapter
- Connection diagram (Ethernet optional):
-
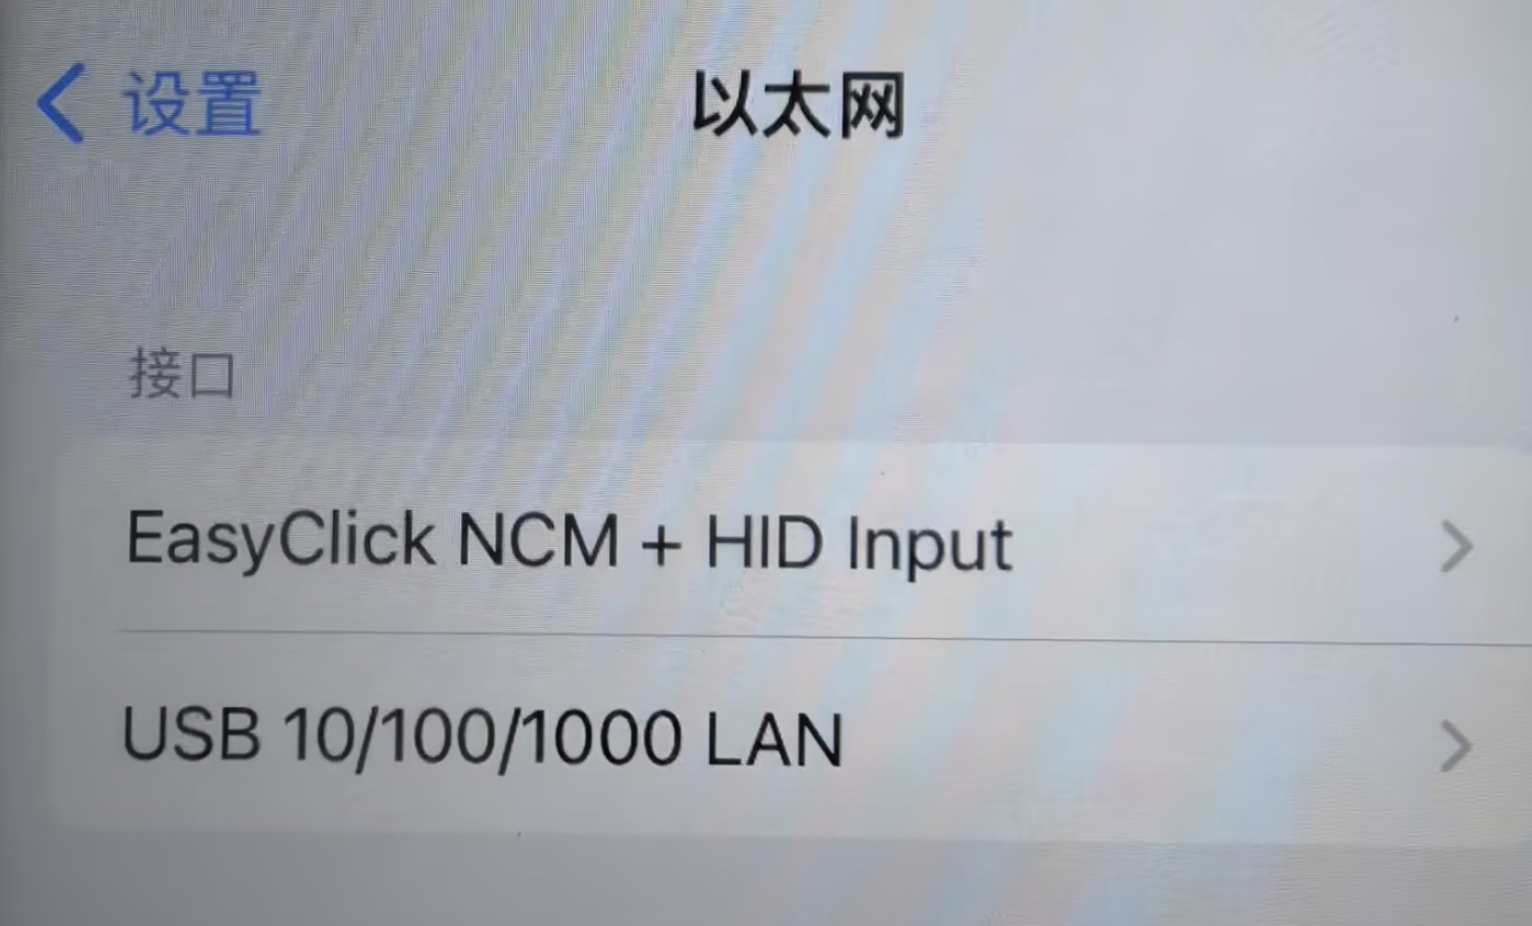
- After connecting, open Settings — Ethernet should show EasyClick NCM + HID Input
-
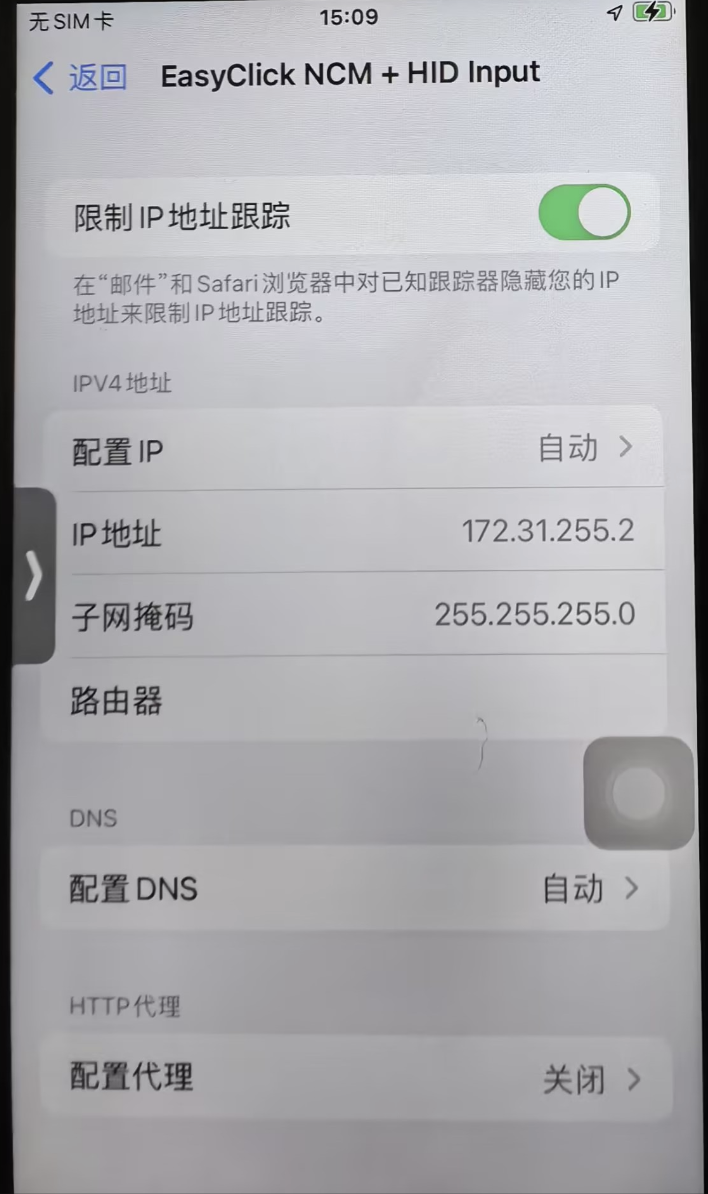
- Tap EasyClick NCM + HID Input to see assigned IP; if none, reboot board (press RST)
-
- With Ethernet plugged in, wired network info appears
-
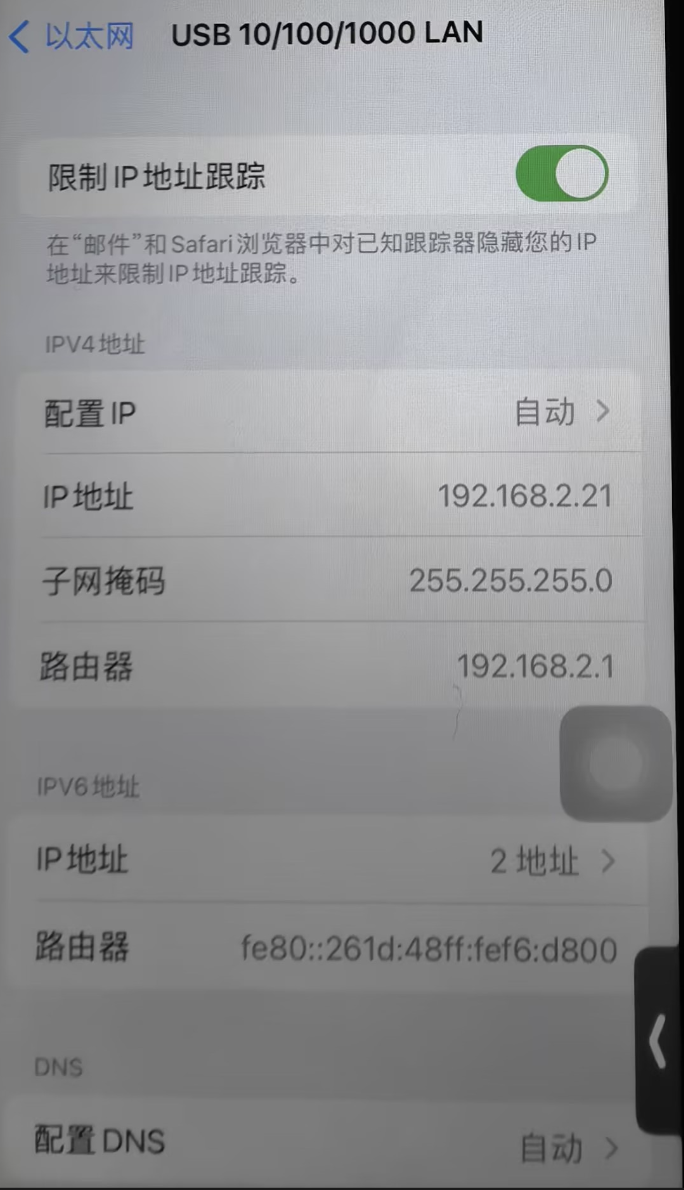
- Complete info above means OTG connection succeeded
Test Features
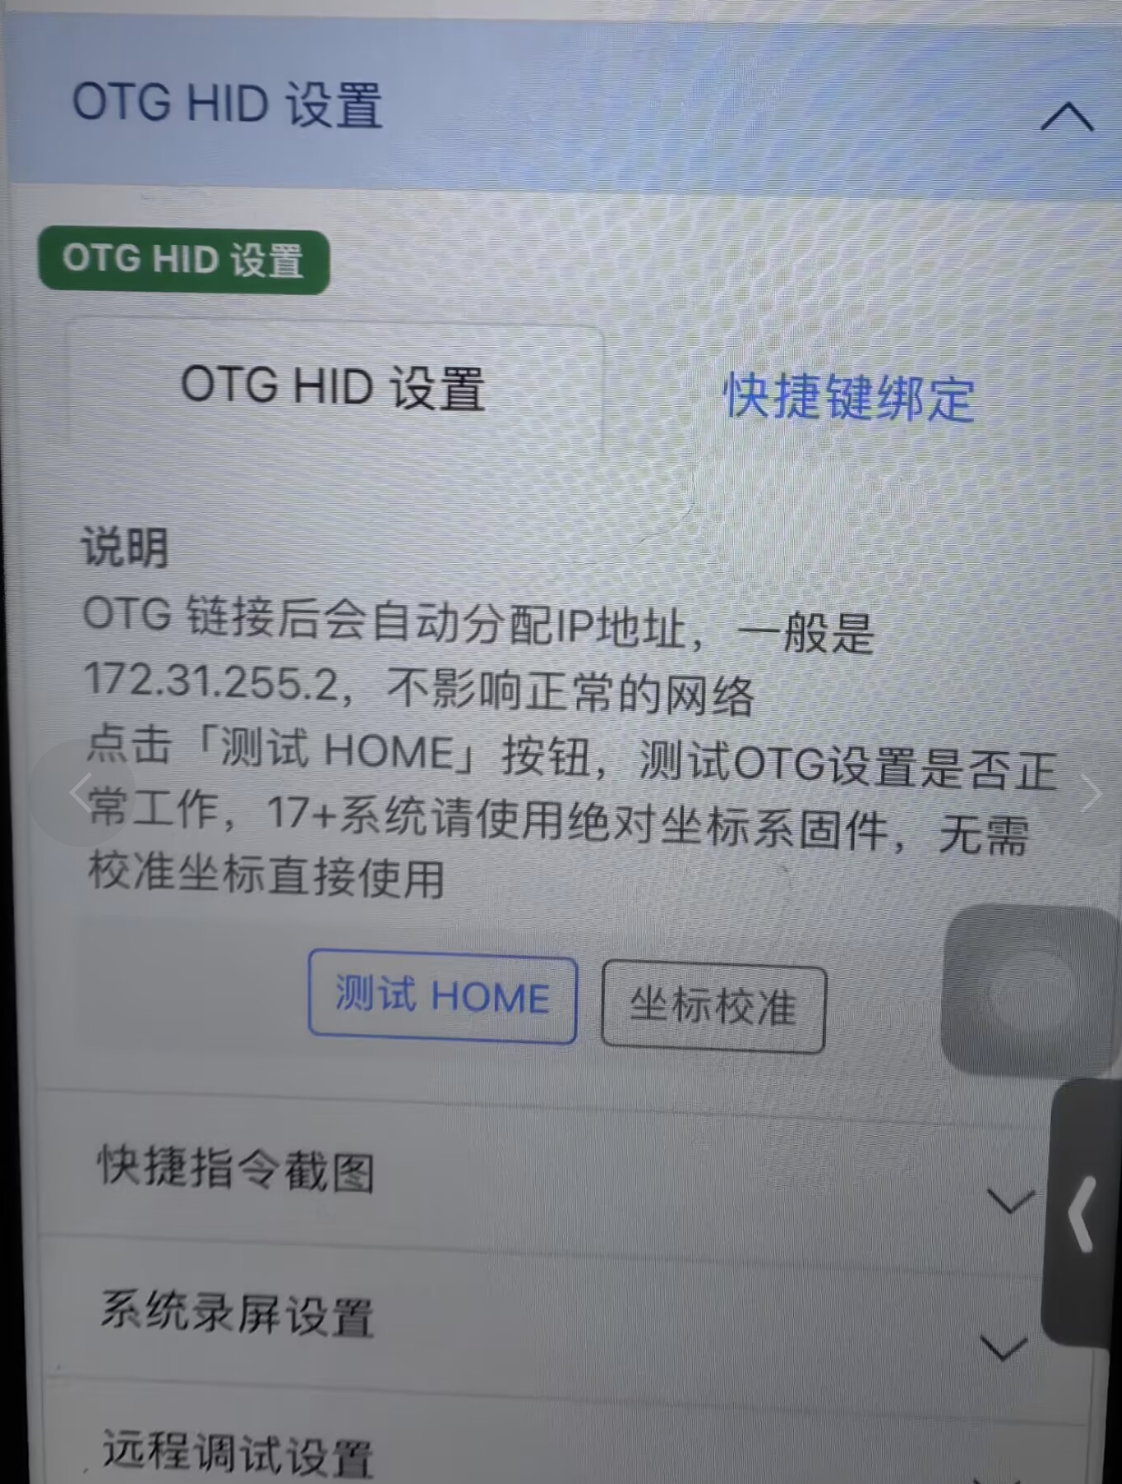
- With OTG connected, under App Settings → OTG HID Settings, press Test HOME. Returning to home means success
- You can also test via script code
-
Coordinate Calibration
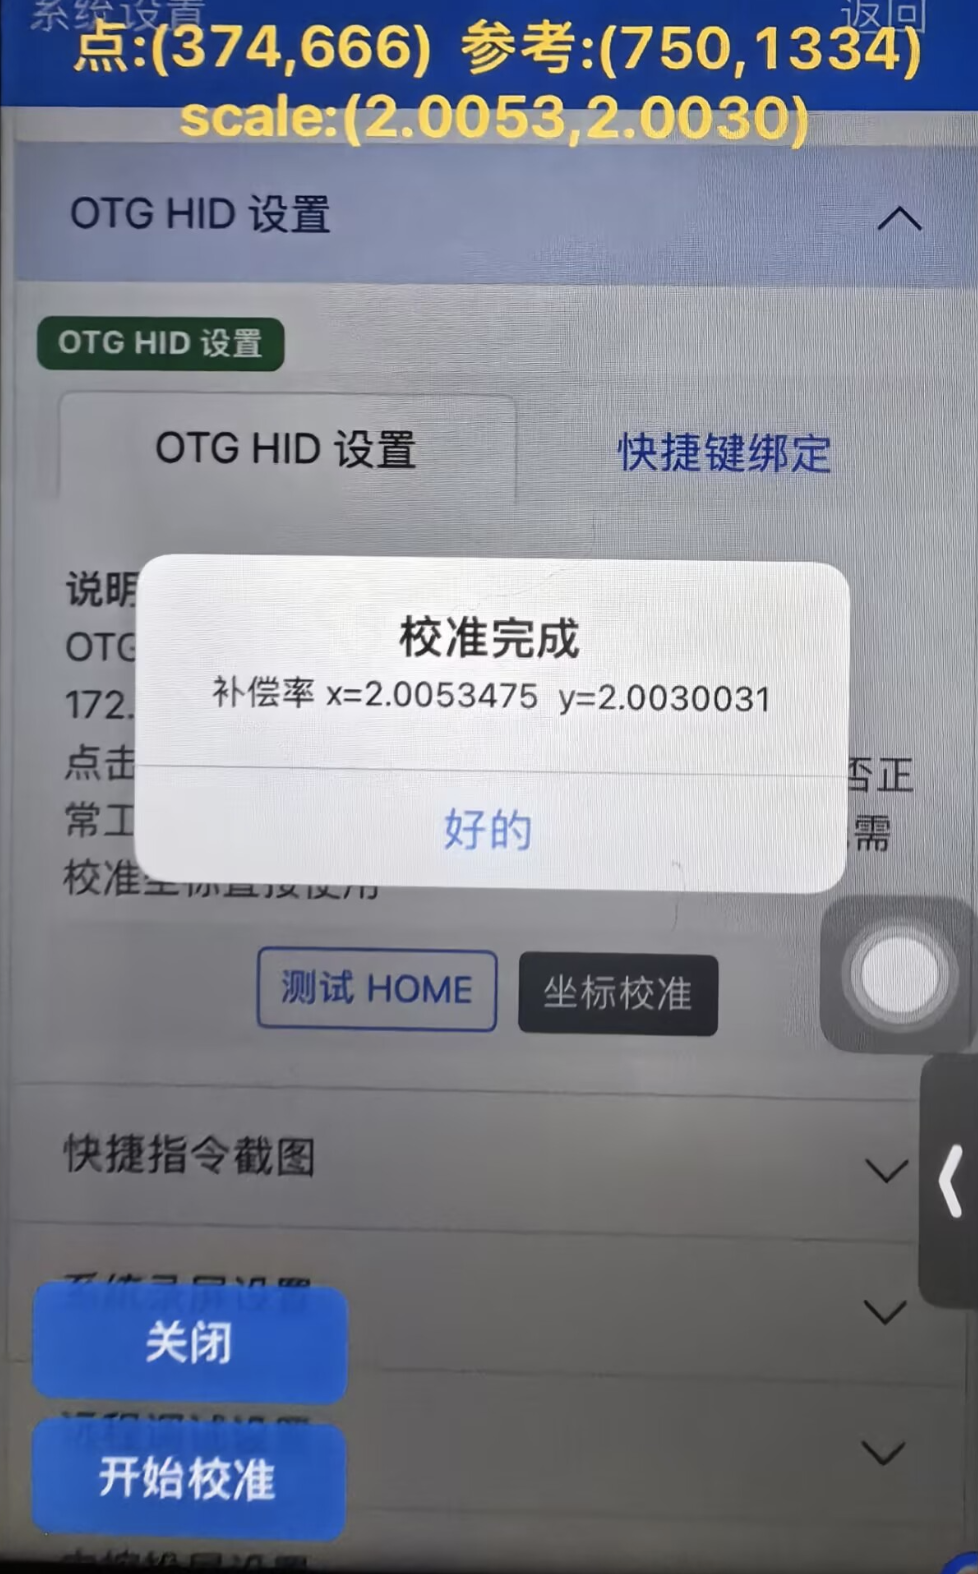
- EC 6.6.0+ adds Coordinate Calibration under App Settings → OTG HID Settings → Coordinate Calibration
- Configure OTG options and pass test, then click Coordinate Calibration. Semi-transparent overlay; click Start Calibration
- Click Close when done
- Calibration is saved; scripts do not need
otgEvent.setScale - On iOS 17+, absolute coordinates recommended — no calibration needed
-
Shortcuts
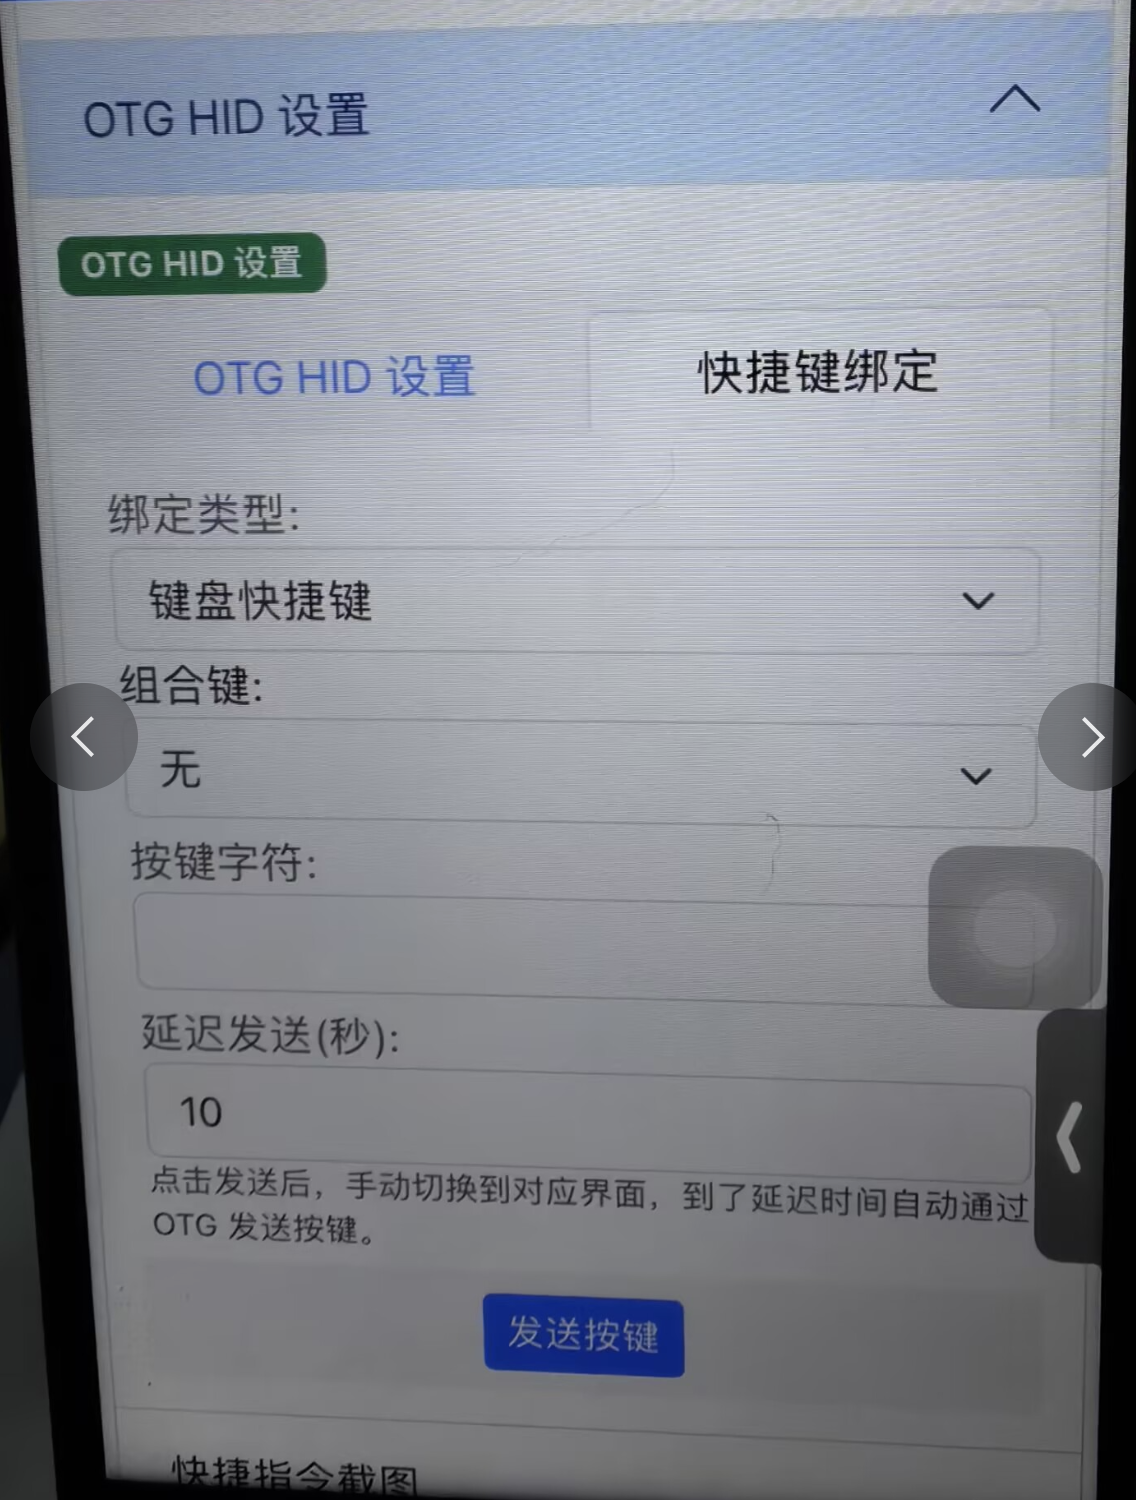
- Bind shortcuts under App Settings → OTG HID Settings → Shortcut Binding
-
Keyboard Shortcut Binding
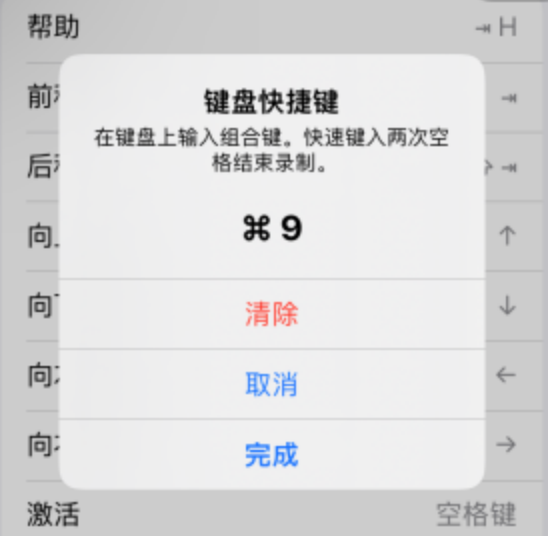
- Open Settings → Accessibility → Keyboard → Full Keyboard Access → Commands, tap a Command, enter keyboard shortcut
-
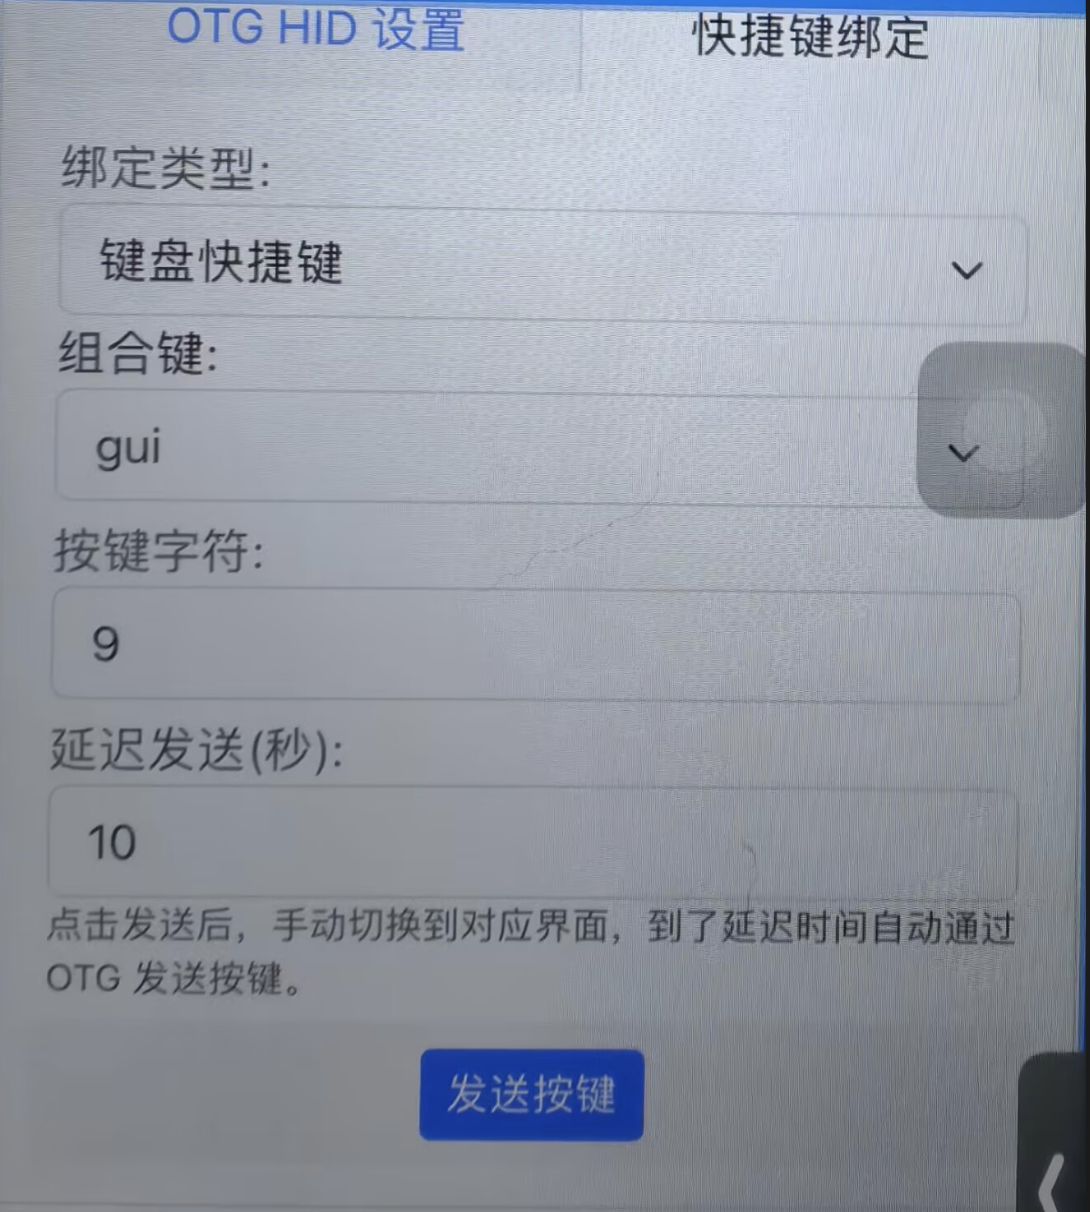
- Double-tap Home, go to App Settings → OTG HID Settings → Shortcut Binding, choose Keyboard Shortcut, set keys, Send
- Dialog appears; double-tap Home back to Commands screen
-
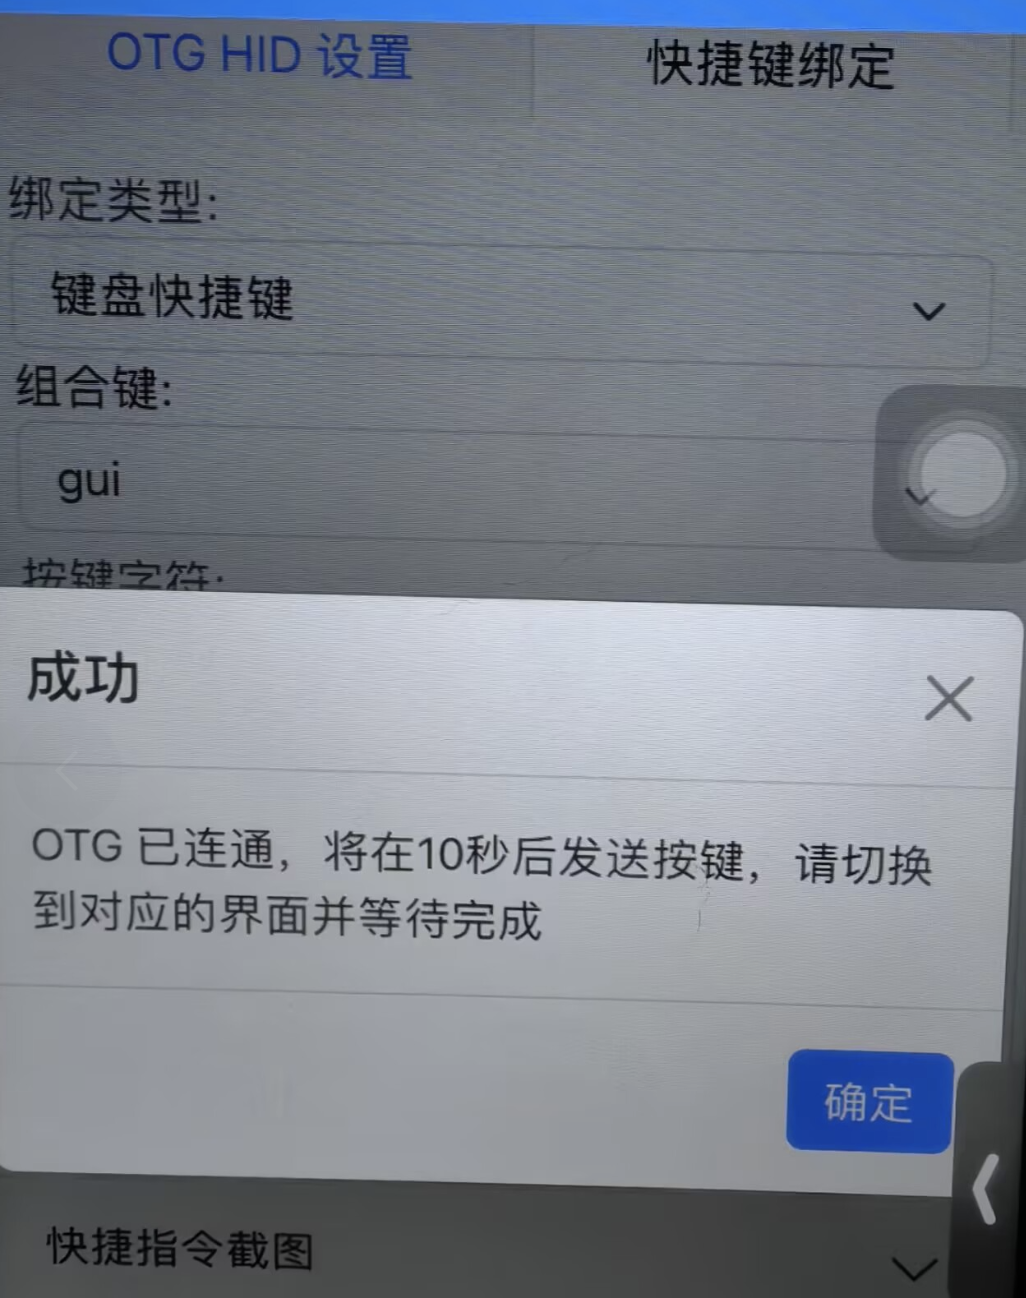
- After ~10 seconds shortcut updates; tap Done
-
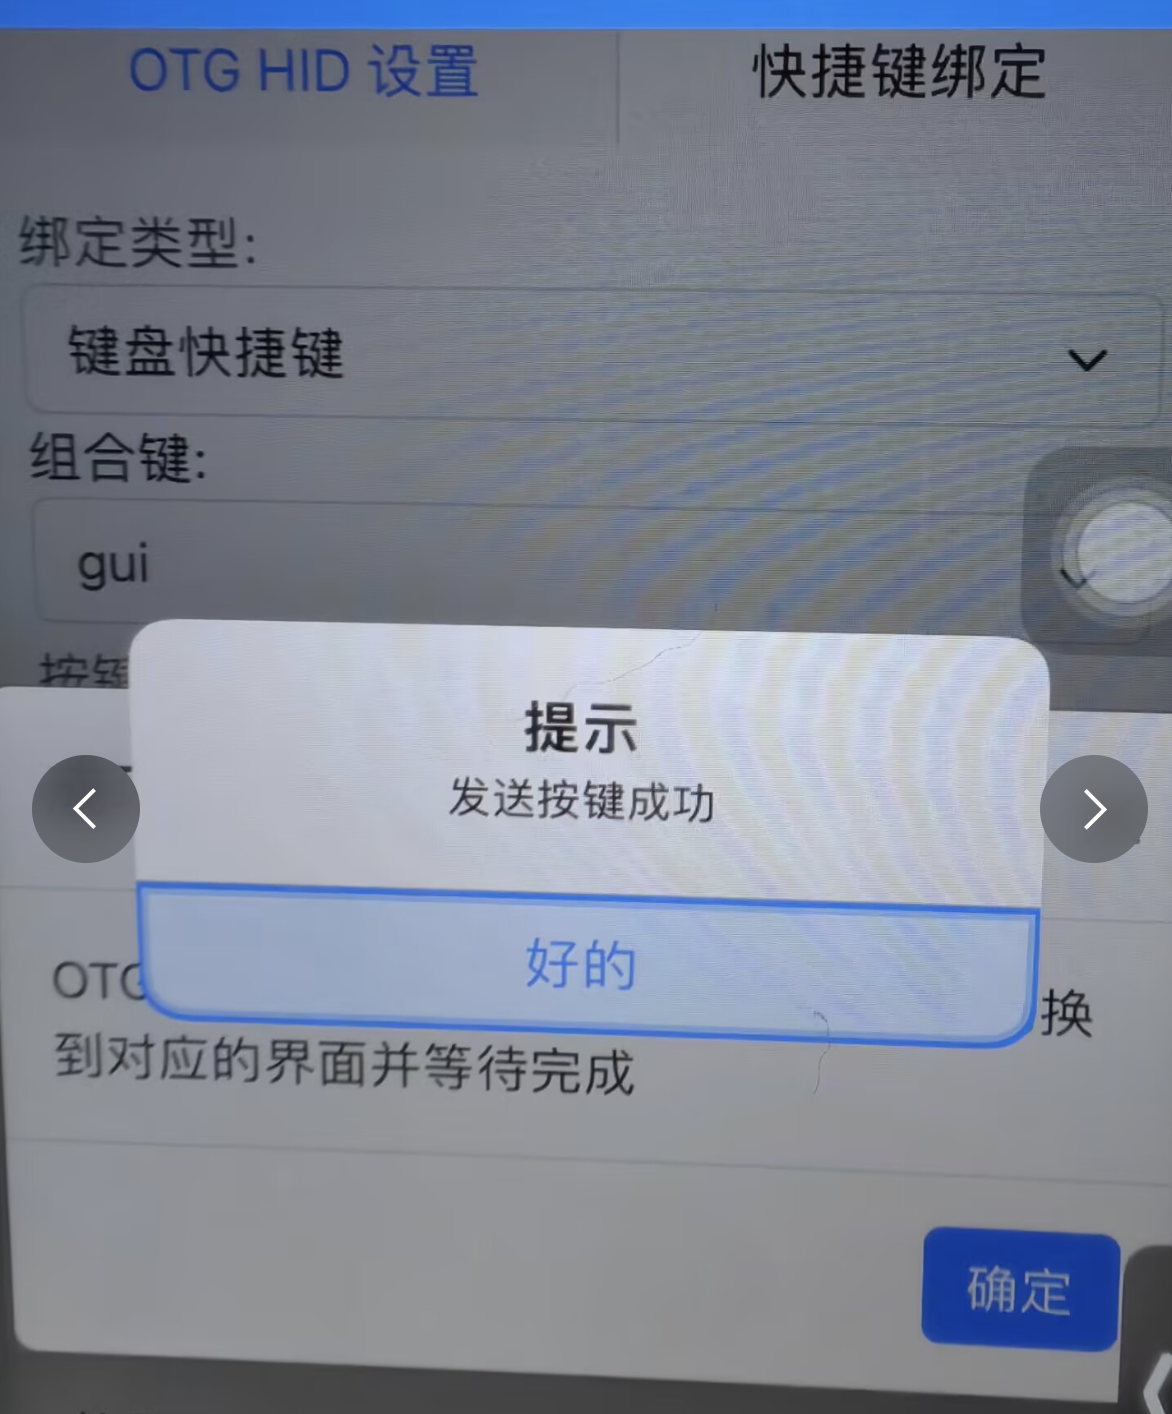
- Return to app shortcut binding for success; retry on failure
-
Mouse Button Binding
- Open Settings → Accessibility → Touch → AssistiveTouch → Devices → EasyClick NCM + HID Input, tap Customize Additional Buttons, press mouse button
-
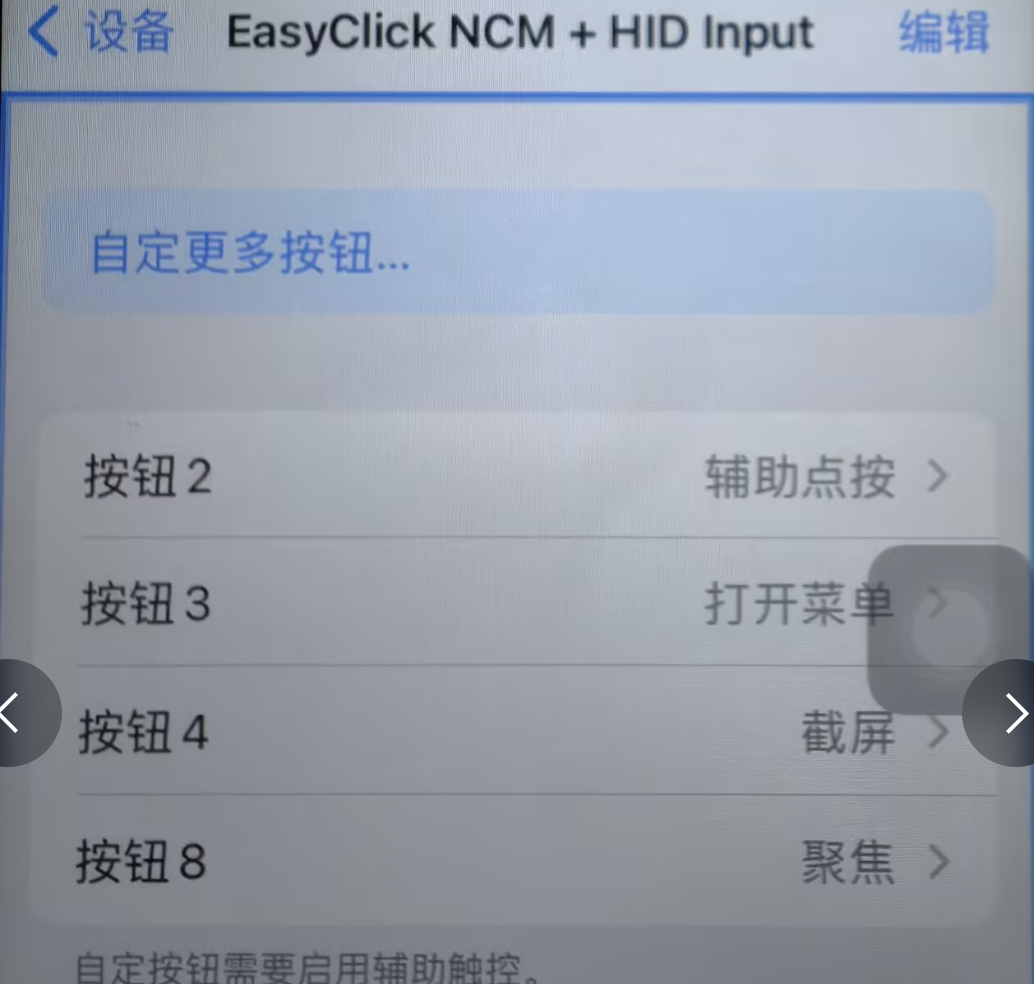
- Double-tap Home, go to App Settings → OTG HID Settings → Shortcut Binding, choose Mouse Button, pick button (Button 4+ recommended)
-
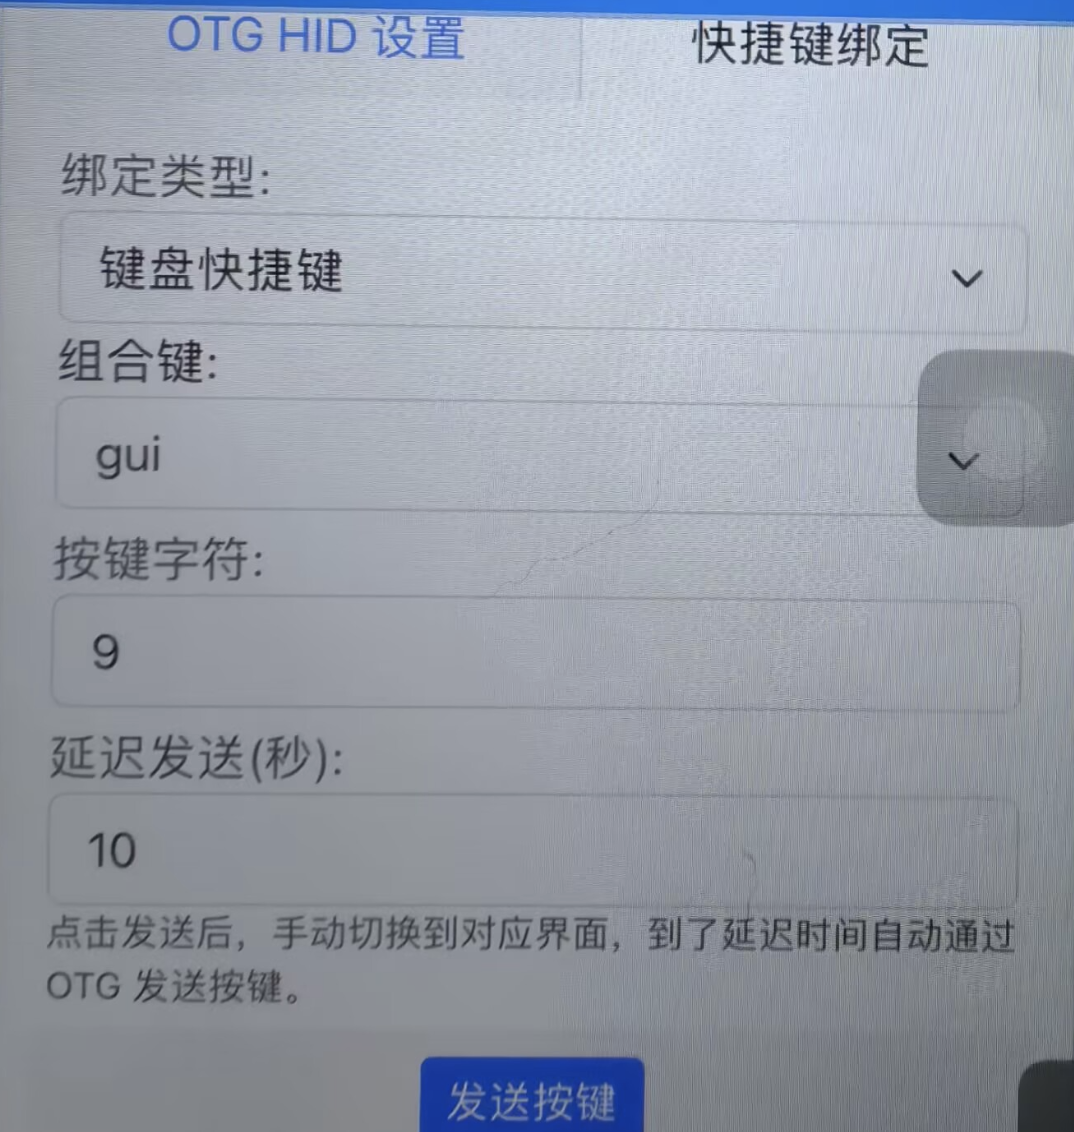
- Send, switch to AssistiveTouch device settings, wait, pick command in custom command screen
FAQ
Required phone settings
- Settings → Accessibility → Touch → AssistiveTouch — enable AssistiveTouch
- Settings → Accessibility → Touch → AssistiveTouch → Tracking Sensitivity — all the way left (slowest)
- Settings → Accessibility → Touch → AssistiveTouch — enable Perform Touch Gestures, Show Onscreen Keyboard; Tap Sounds optional
- Settings → Accessibility → Touch → AssistiveTouch → Mouse Keys — Initial Delay and Maximum Speed all the way left
- General → Trackpad & Mouse → Tracking Acceleration — all the way left
- Settings → Accessibility → Keyboards — enable Full Keyboard Access
- Settings → Accessibility → Keyboards → Commands — customize shortcuts
Mouse drift or inaccuracy
- Phone settings not enabled — see [Required phone settings]
- Coordinates not calibrated — use
otgEvent.resetZerofor 0,0 - Scale wrong —
bleEvent.getIPhoneScale; test with fixed coordinates if model missing - Screen width/height not set — especially after rotation
Using with scripts
- In IDEA color panel, Capture Without Automation and Live Test (No Automation)
- In scripts: activeSelf.screenshot (anti-detection) or App Settings → Shortcuts Screenshot
- Or App Settings → System Screen Recording
- Except node features, OCR, YOLO, color finding, template matching work normally
Absolute coordinates
- Wrong start — usually 0,0; reboot if not
- Set all scale to 1
Shortcuts Screenshot
- Shortcuts screenshot uses bound Shortcuts to capture and send image to script
- App Settings → Shortcuts Screenshot, default port 7760. Start service or start via code
-
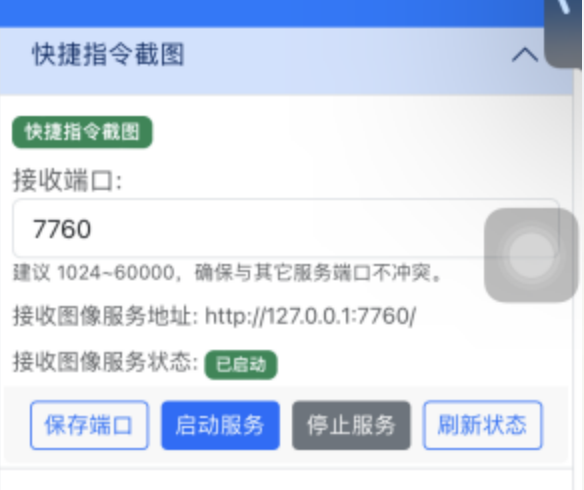
- In Shortcuts app, create a shortcut:
-
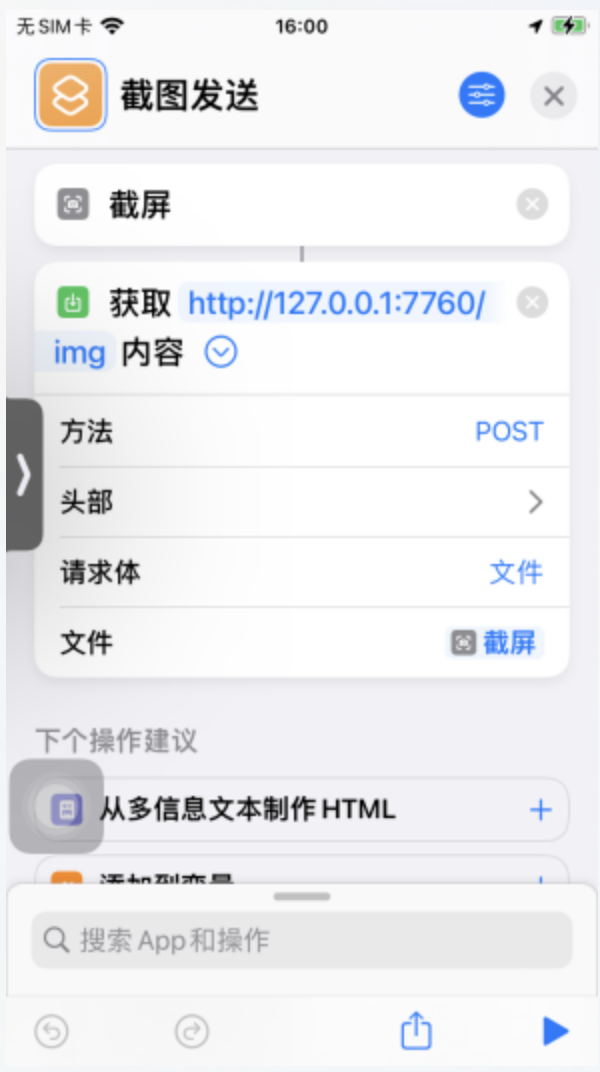
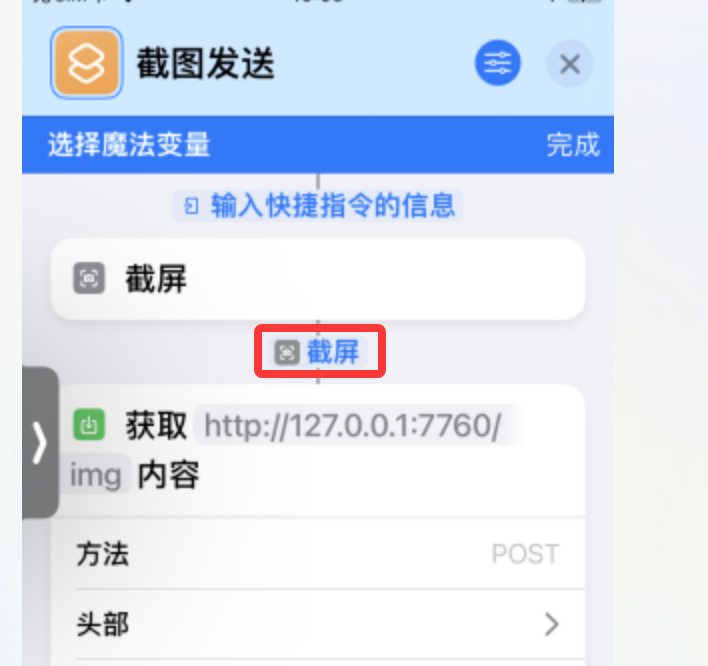
- Take screenshot, POST to
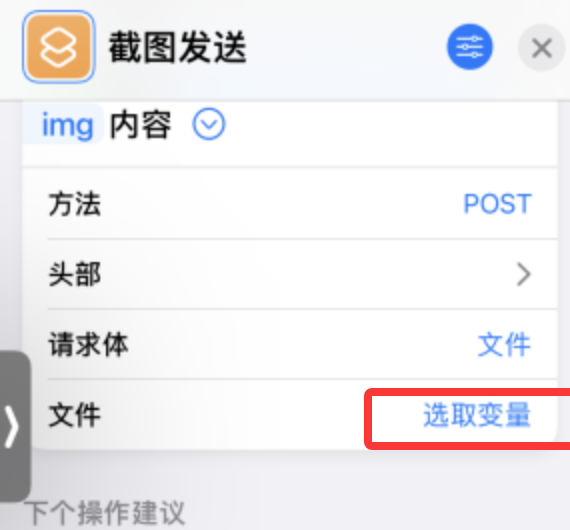
http://127.0.0.1:7760/img - Method POST, body File, file = screenshot
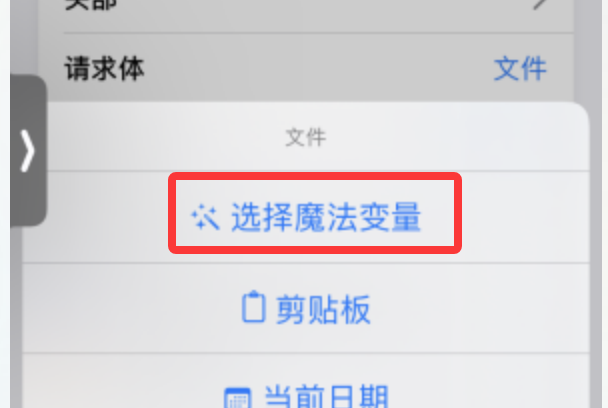
- If screenshot unavailable, choose variable → Magic Variable → Screenshot
-
-
-
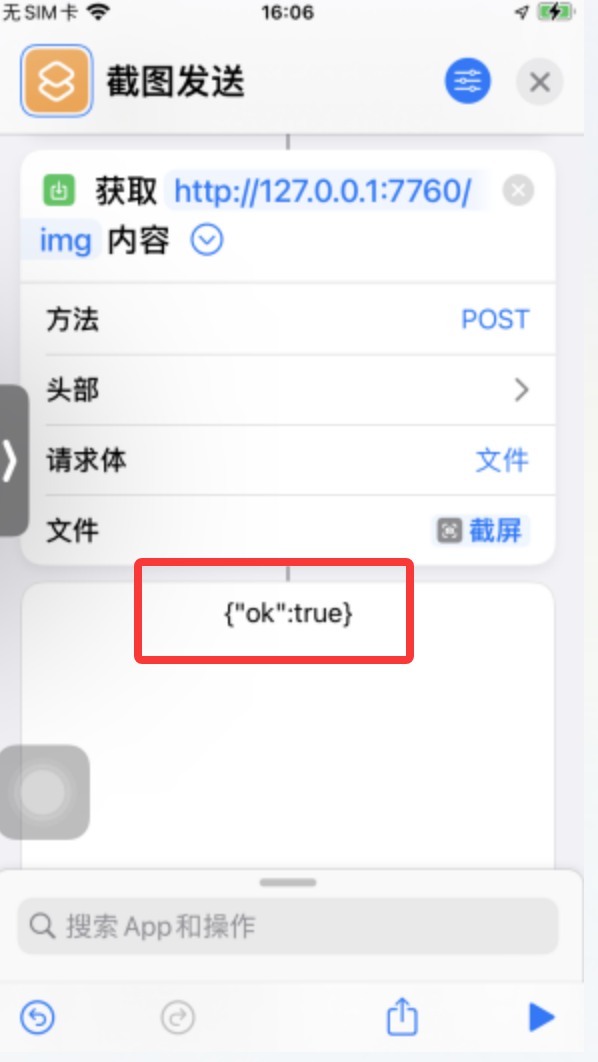
- Tap triangle at bottom to run once; allow any permission prompts
- Success looks like:
-
System Screen Recording Screenshot
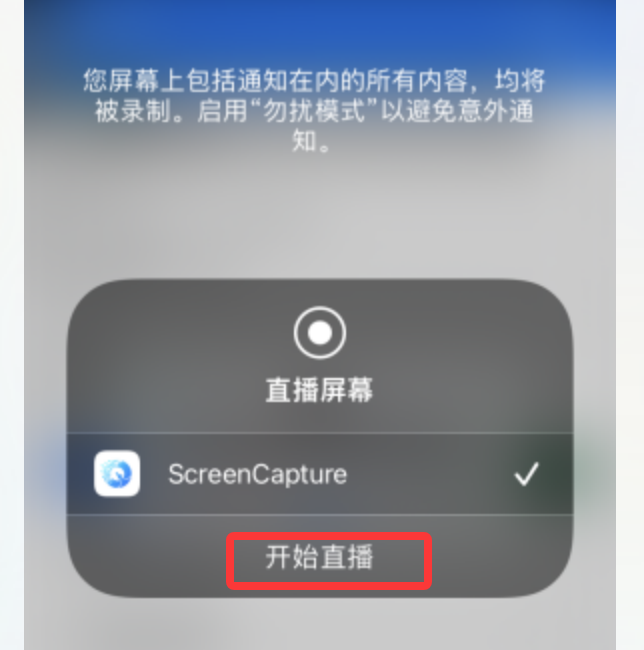
- Requires screen recording; recording prompt may need manual tap or blind mouse click
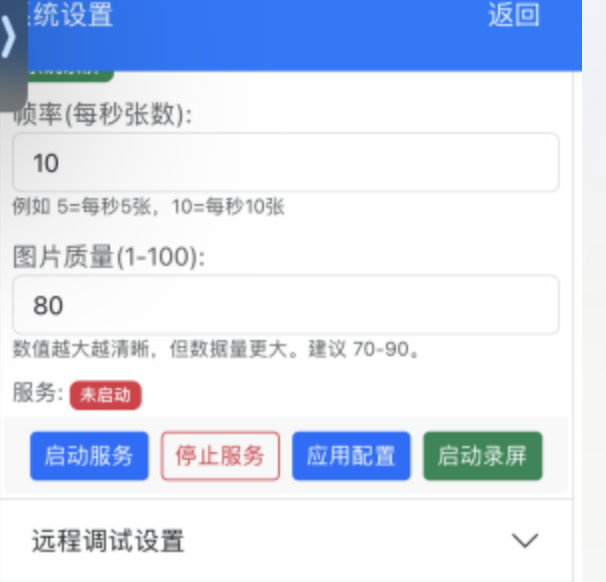
- App Settings → System Screen Recording Settings — configure frame rate and quality (defaults usually fine)
- Start Service, then Start Recording
-
- Recording prompt — tap Start Broadcast, 3-second countdown
-
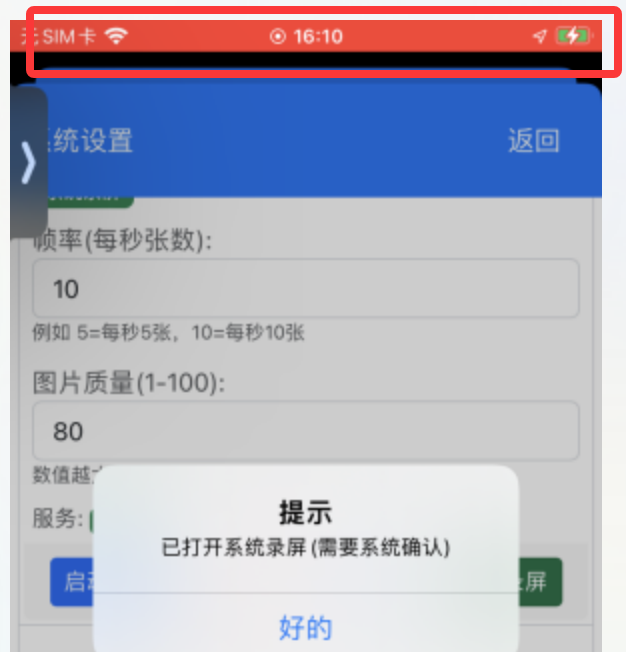
- Red bar at top (or red dot on newer iOS)
-
- Use script screen recording functions for images
- In IDEA, for capture without automation set capture mode to Recording Mode (Phone Recording)