Install IDE plugin
1. Install the plugin
- Broader versions may still work, but strongly prefer IDEA 2026.2 or later; avoid older builds
- Prefer IDEA 2026.2 or later — no IDEA activation required; install the plugin and use it. Avoid older IDEA versions — they often require cracking and will no longer be supported
- If you prefer the classic look: open IDEA Settings → Plugins, search for Classic UI, install it, then restart IDEA to restore the classic UI
- Plugin install walkthrough: https://blog.csdn.net/qq_39597203/article/details/88683118
2. Create a project
-
HarmonyOS Next and Android both use a multi-module layout
-
Open an empty folder first
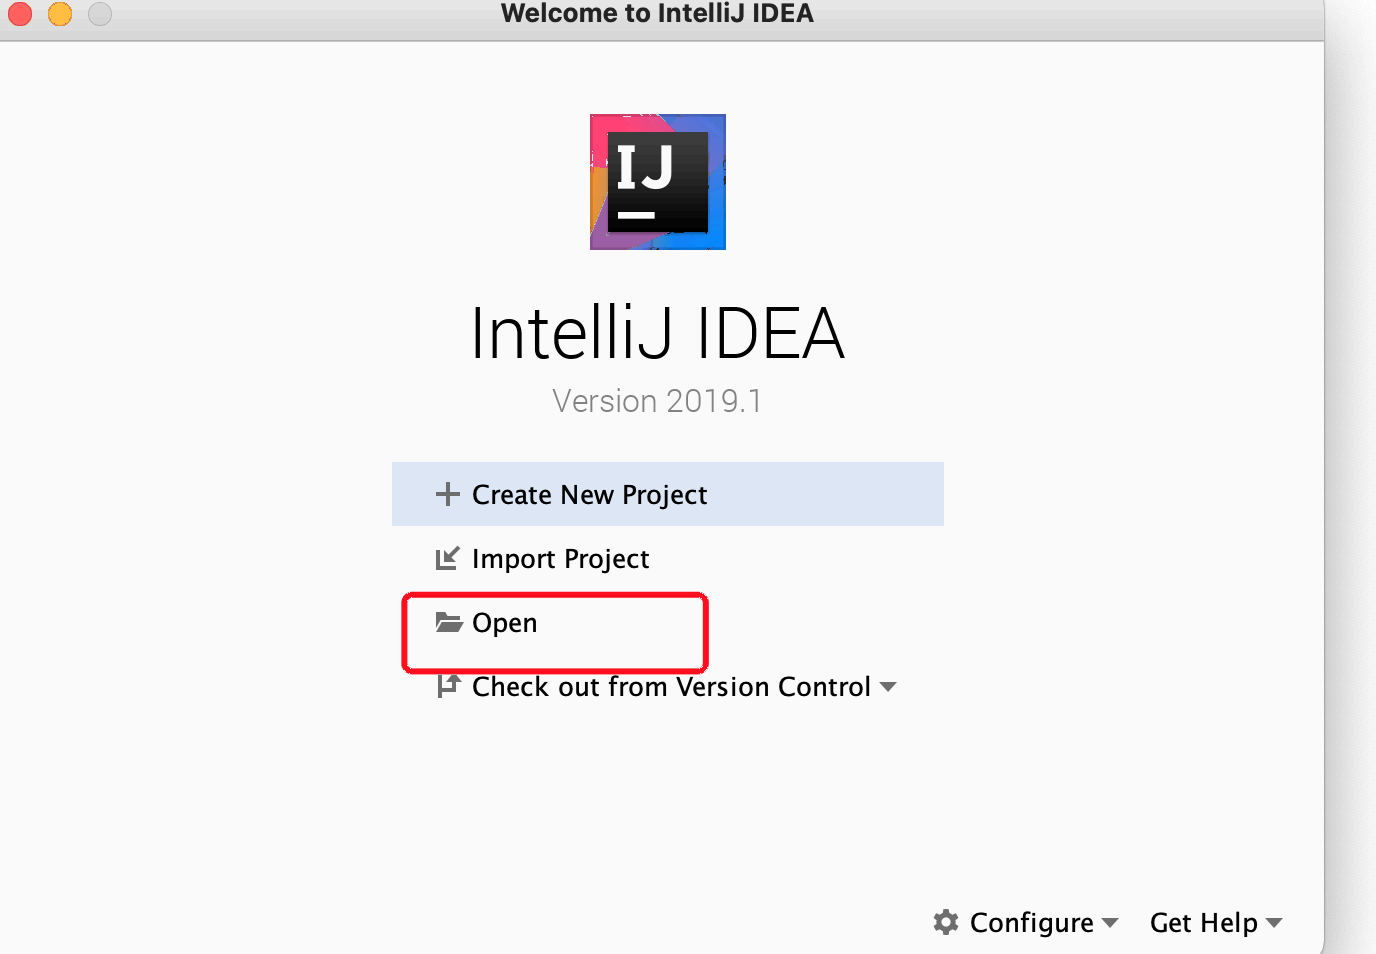
-
Right-click the project → New Module
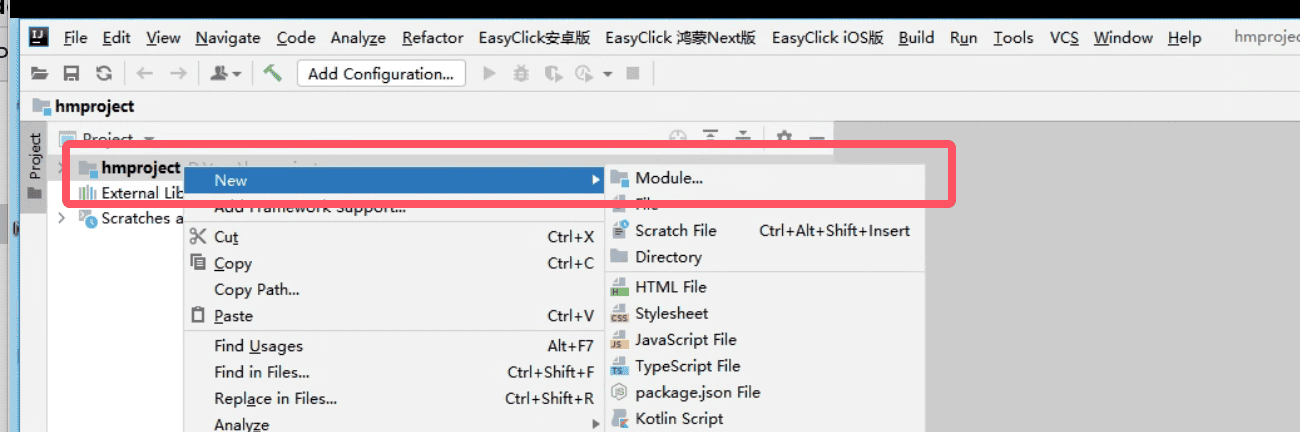
-
Choose HarmonyOS Next USB script project, enter a name, select
next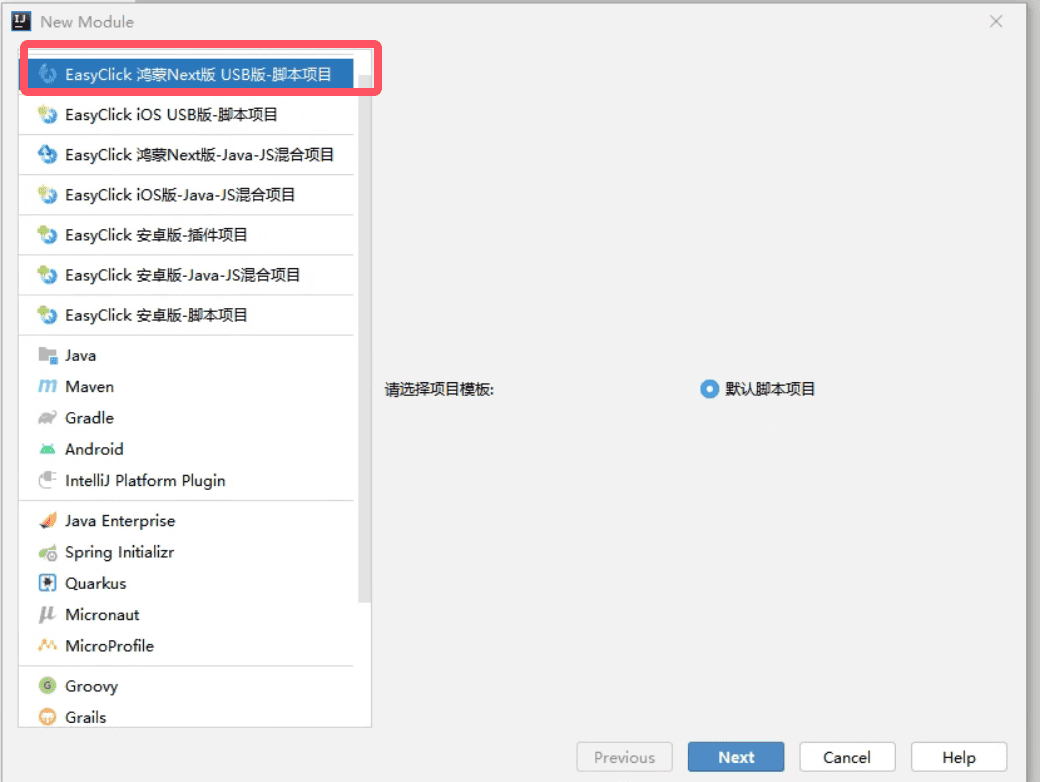
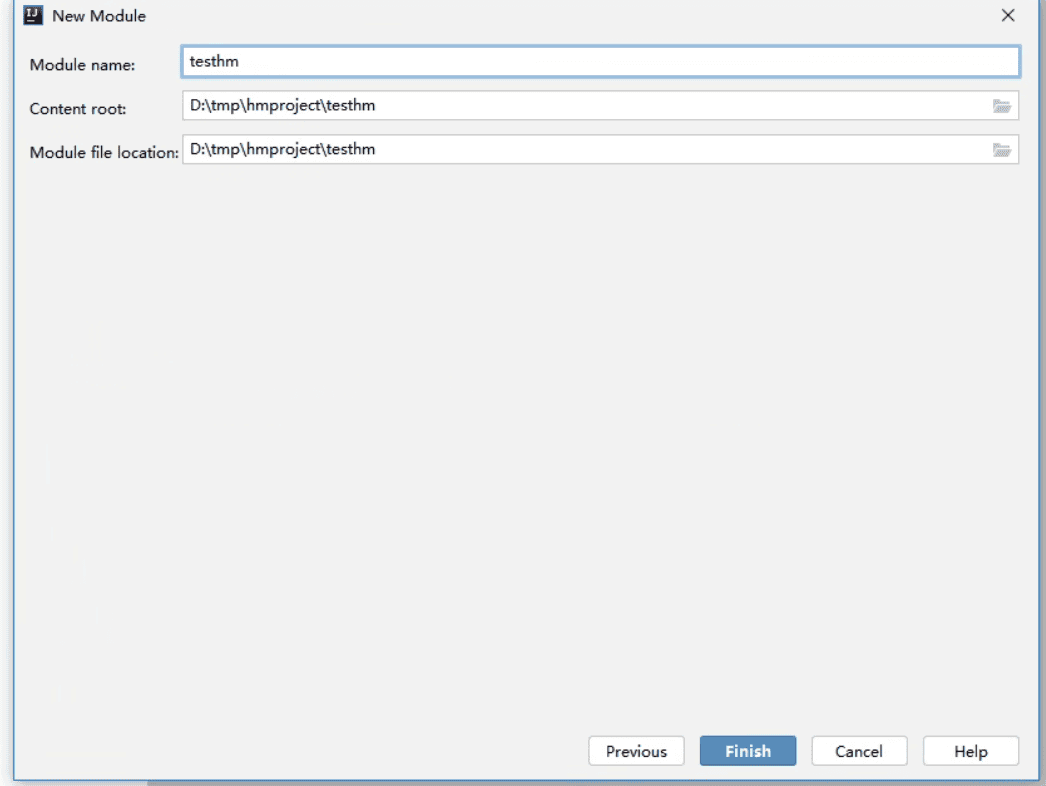
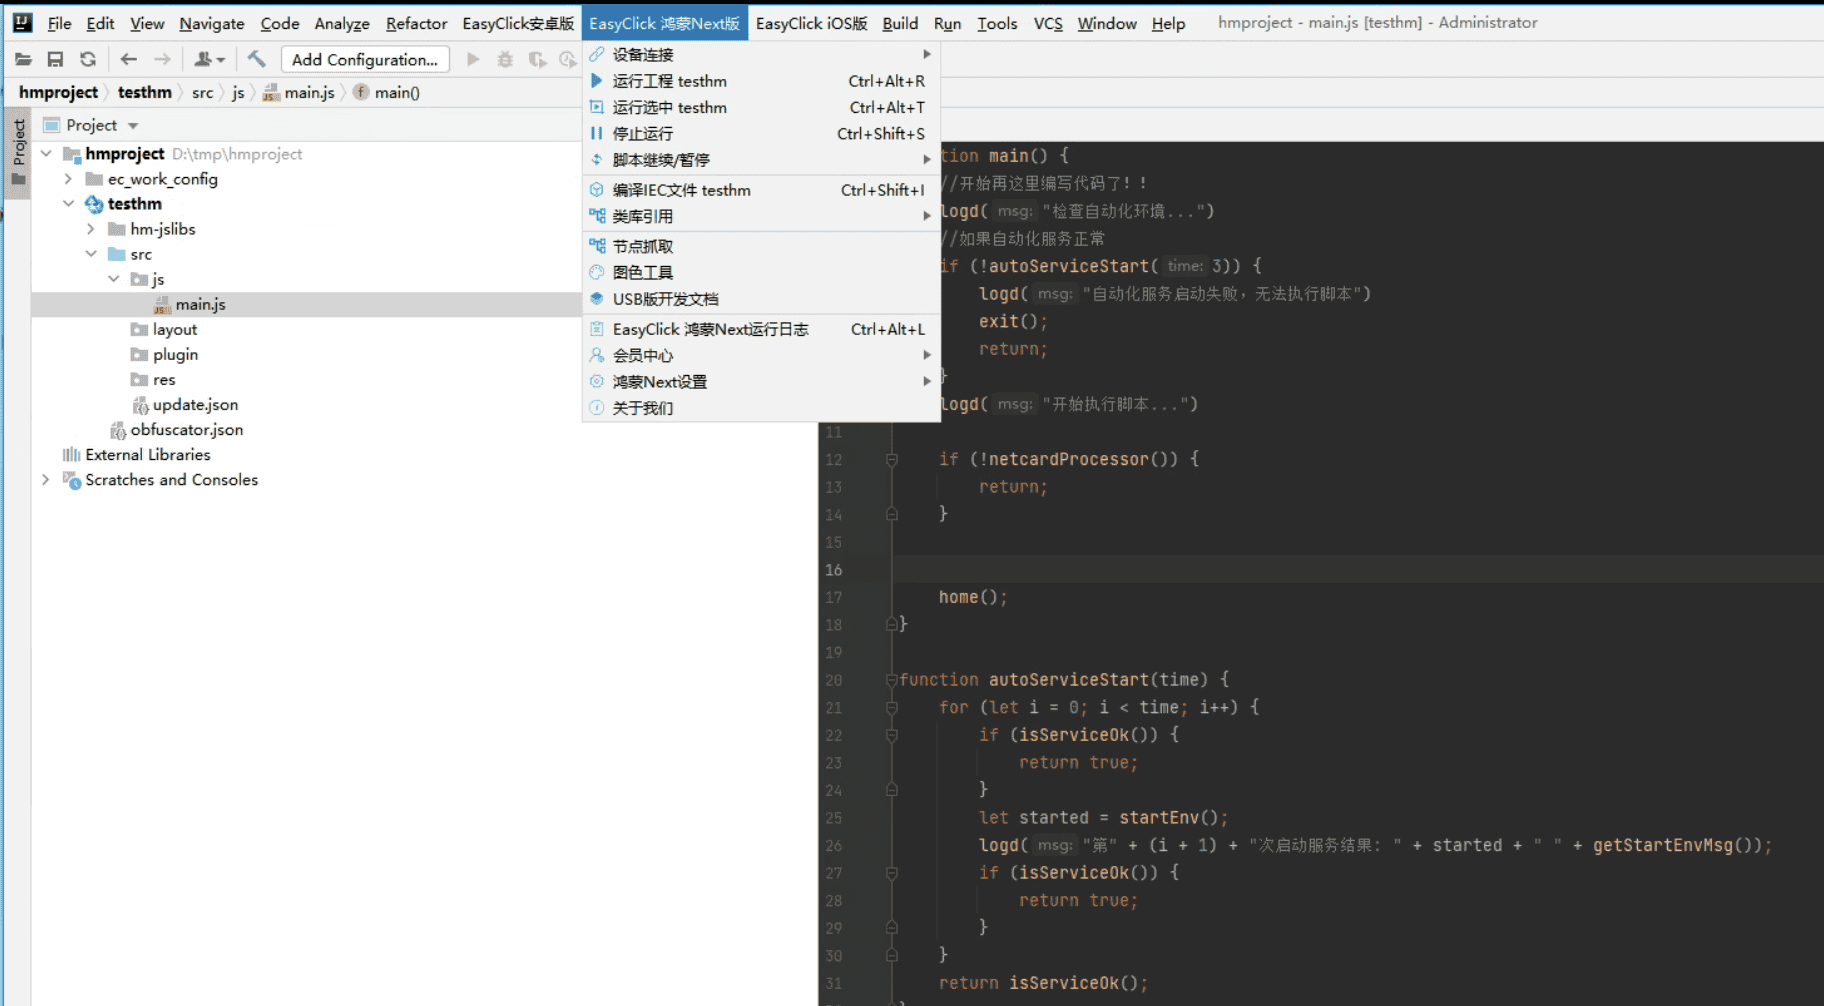
3. Connect to the control center
-
- Plugin installed
-
- Agent / runtime ready
-
- Control center running
- Menu:
EasyClick HarmonyOS Next → Device connect → USB connect to center
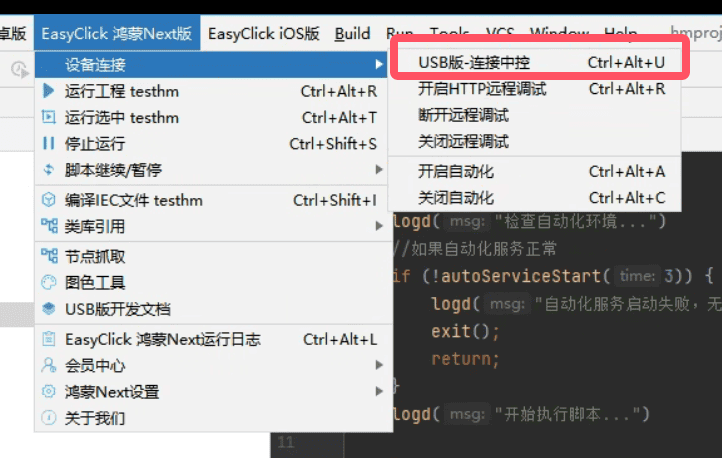
- Keep the default address unless you changed the center port
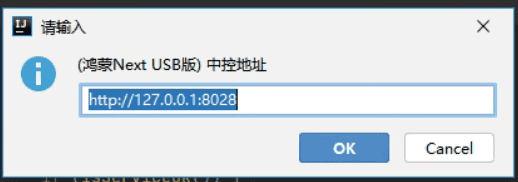
- Confirm — connection status and logs appear in the bottom panel EasyClick HarmonyOS Next run log